Assembly Guide
Soldering & Assembling Your DNS Driveby Kit
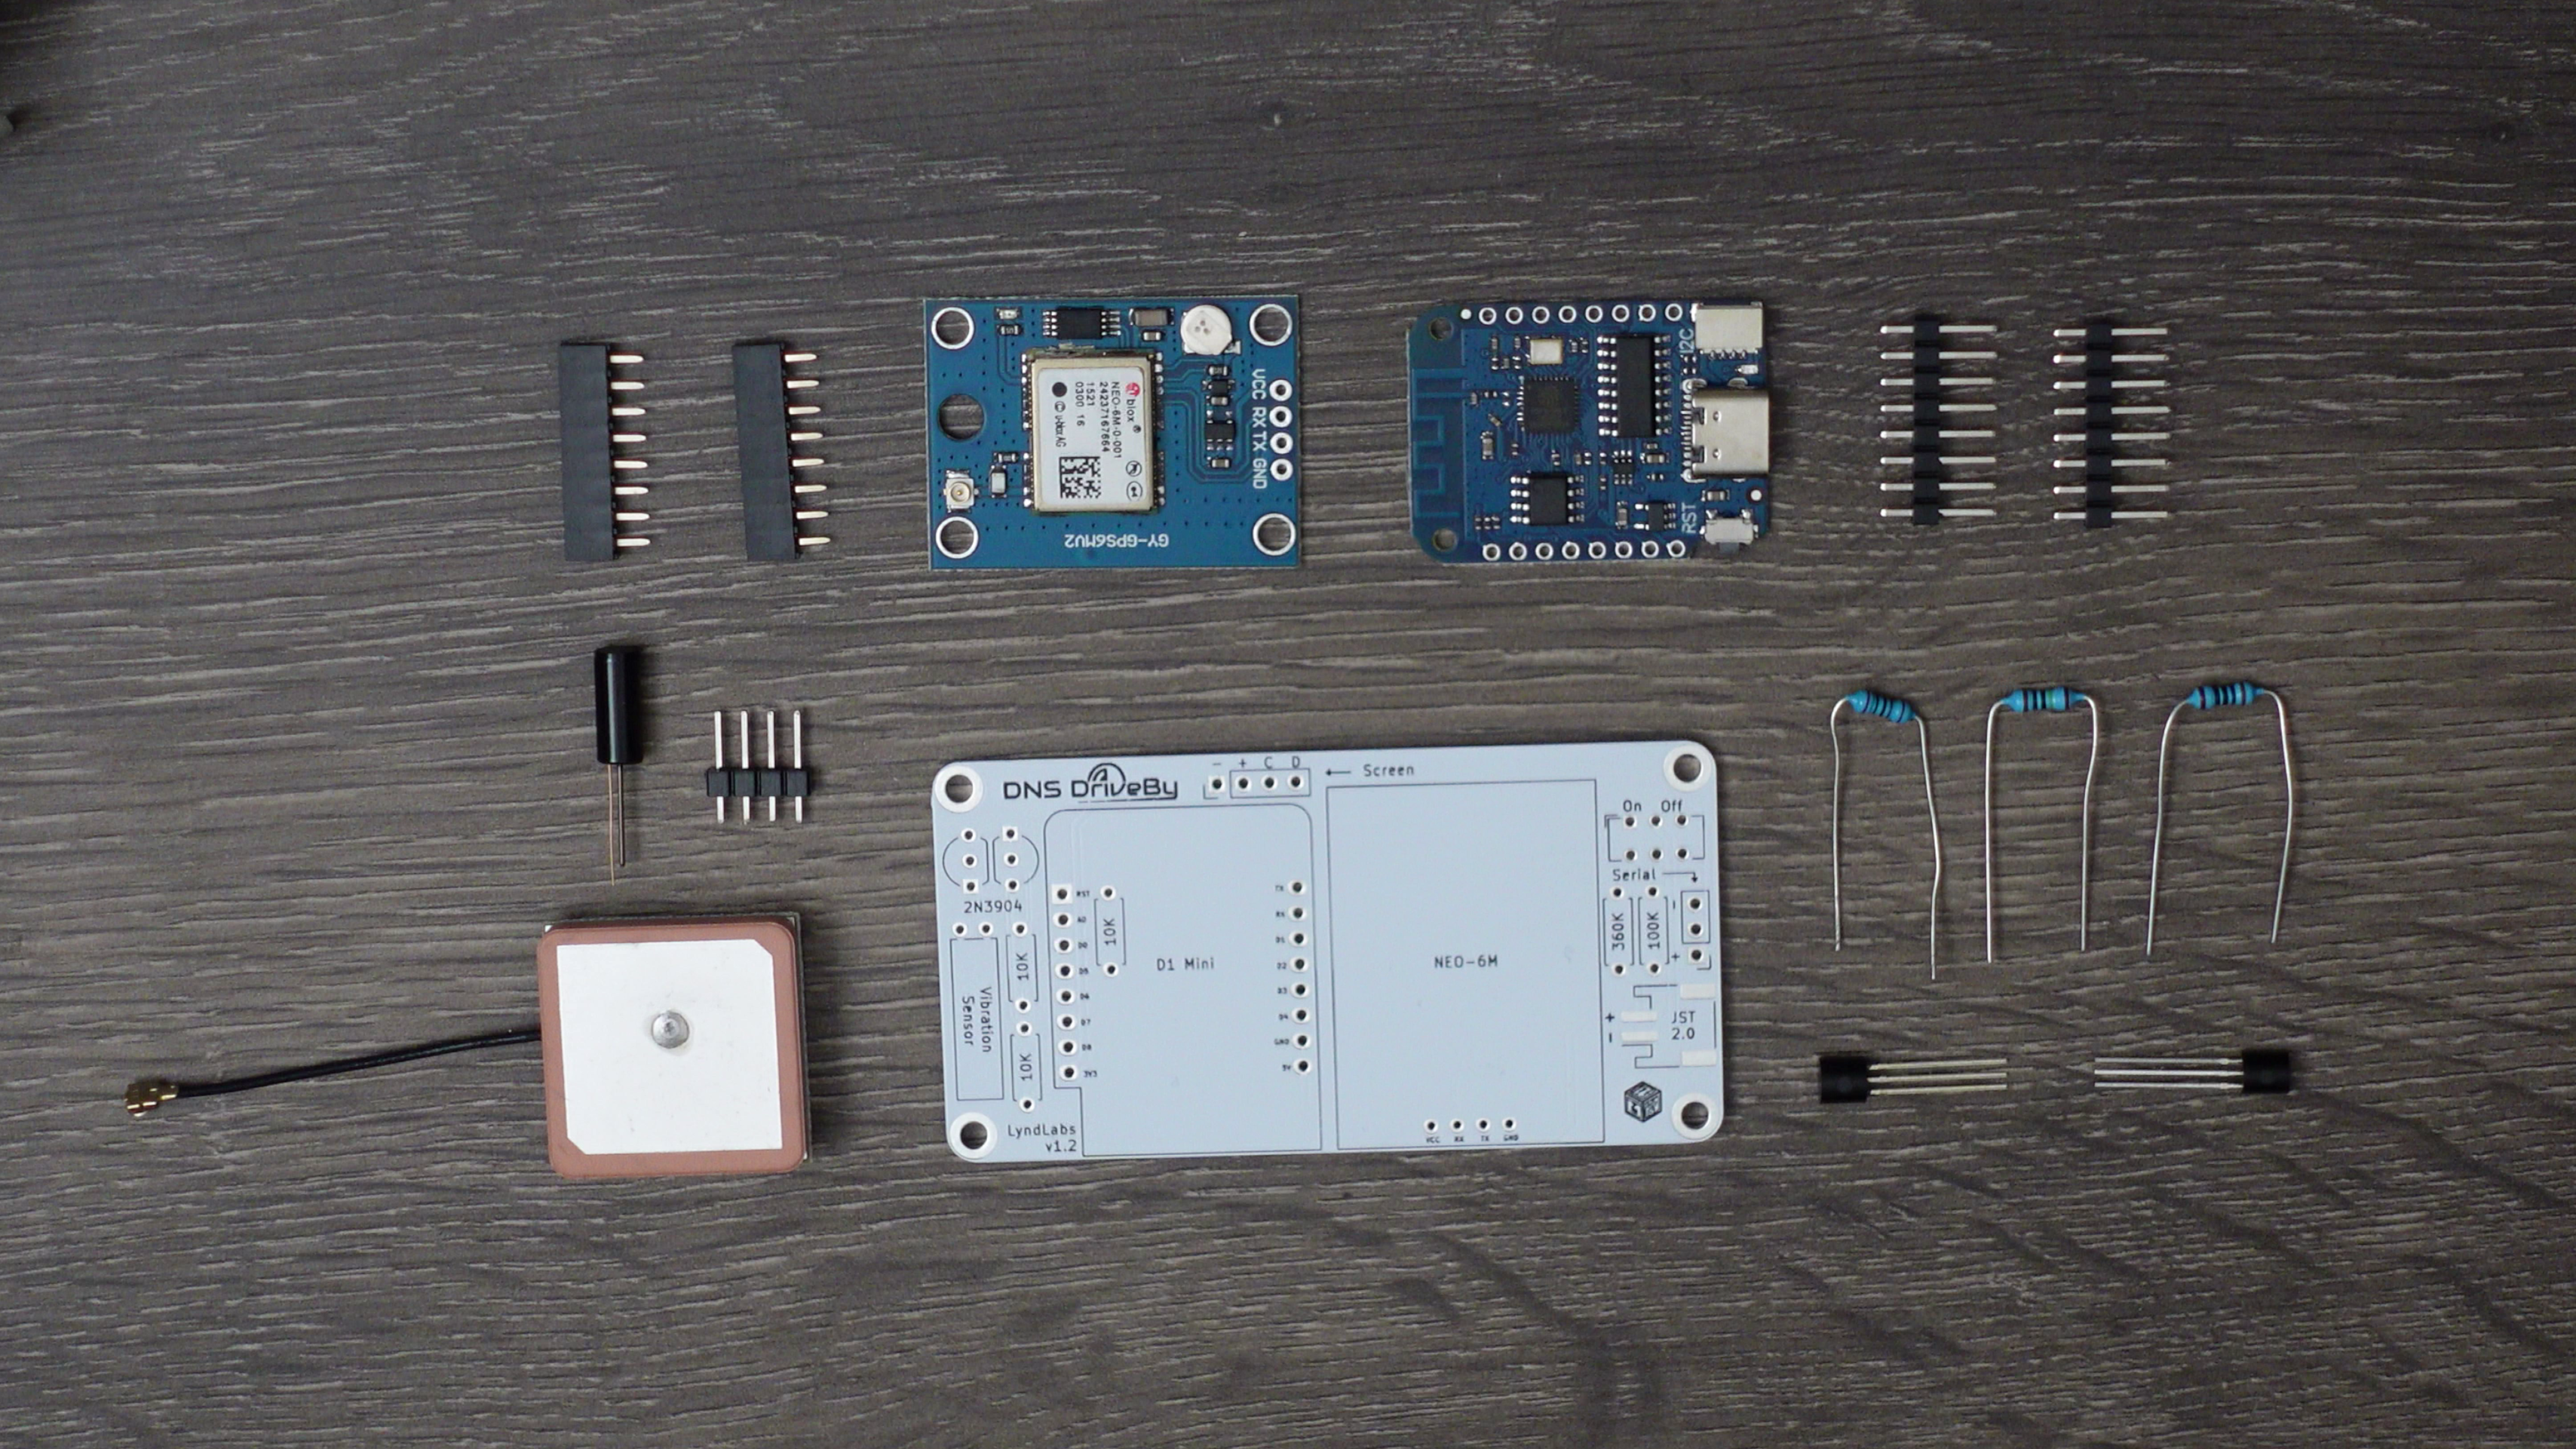
Basic Assembly
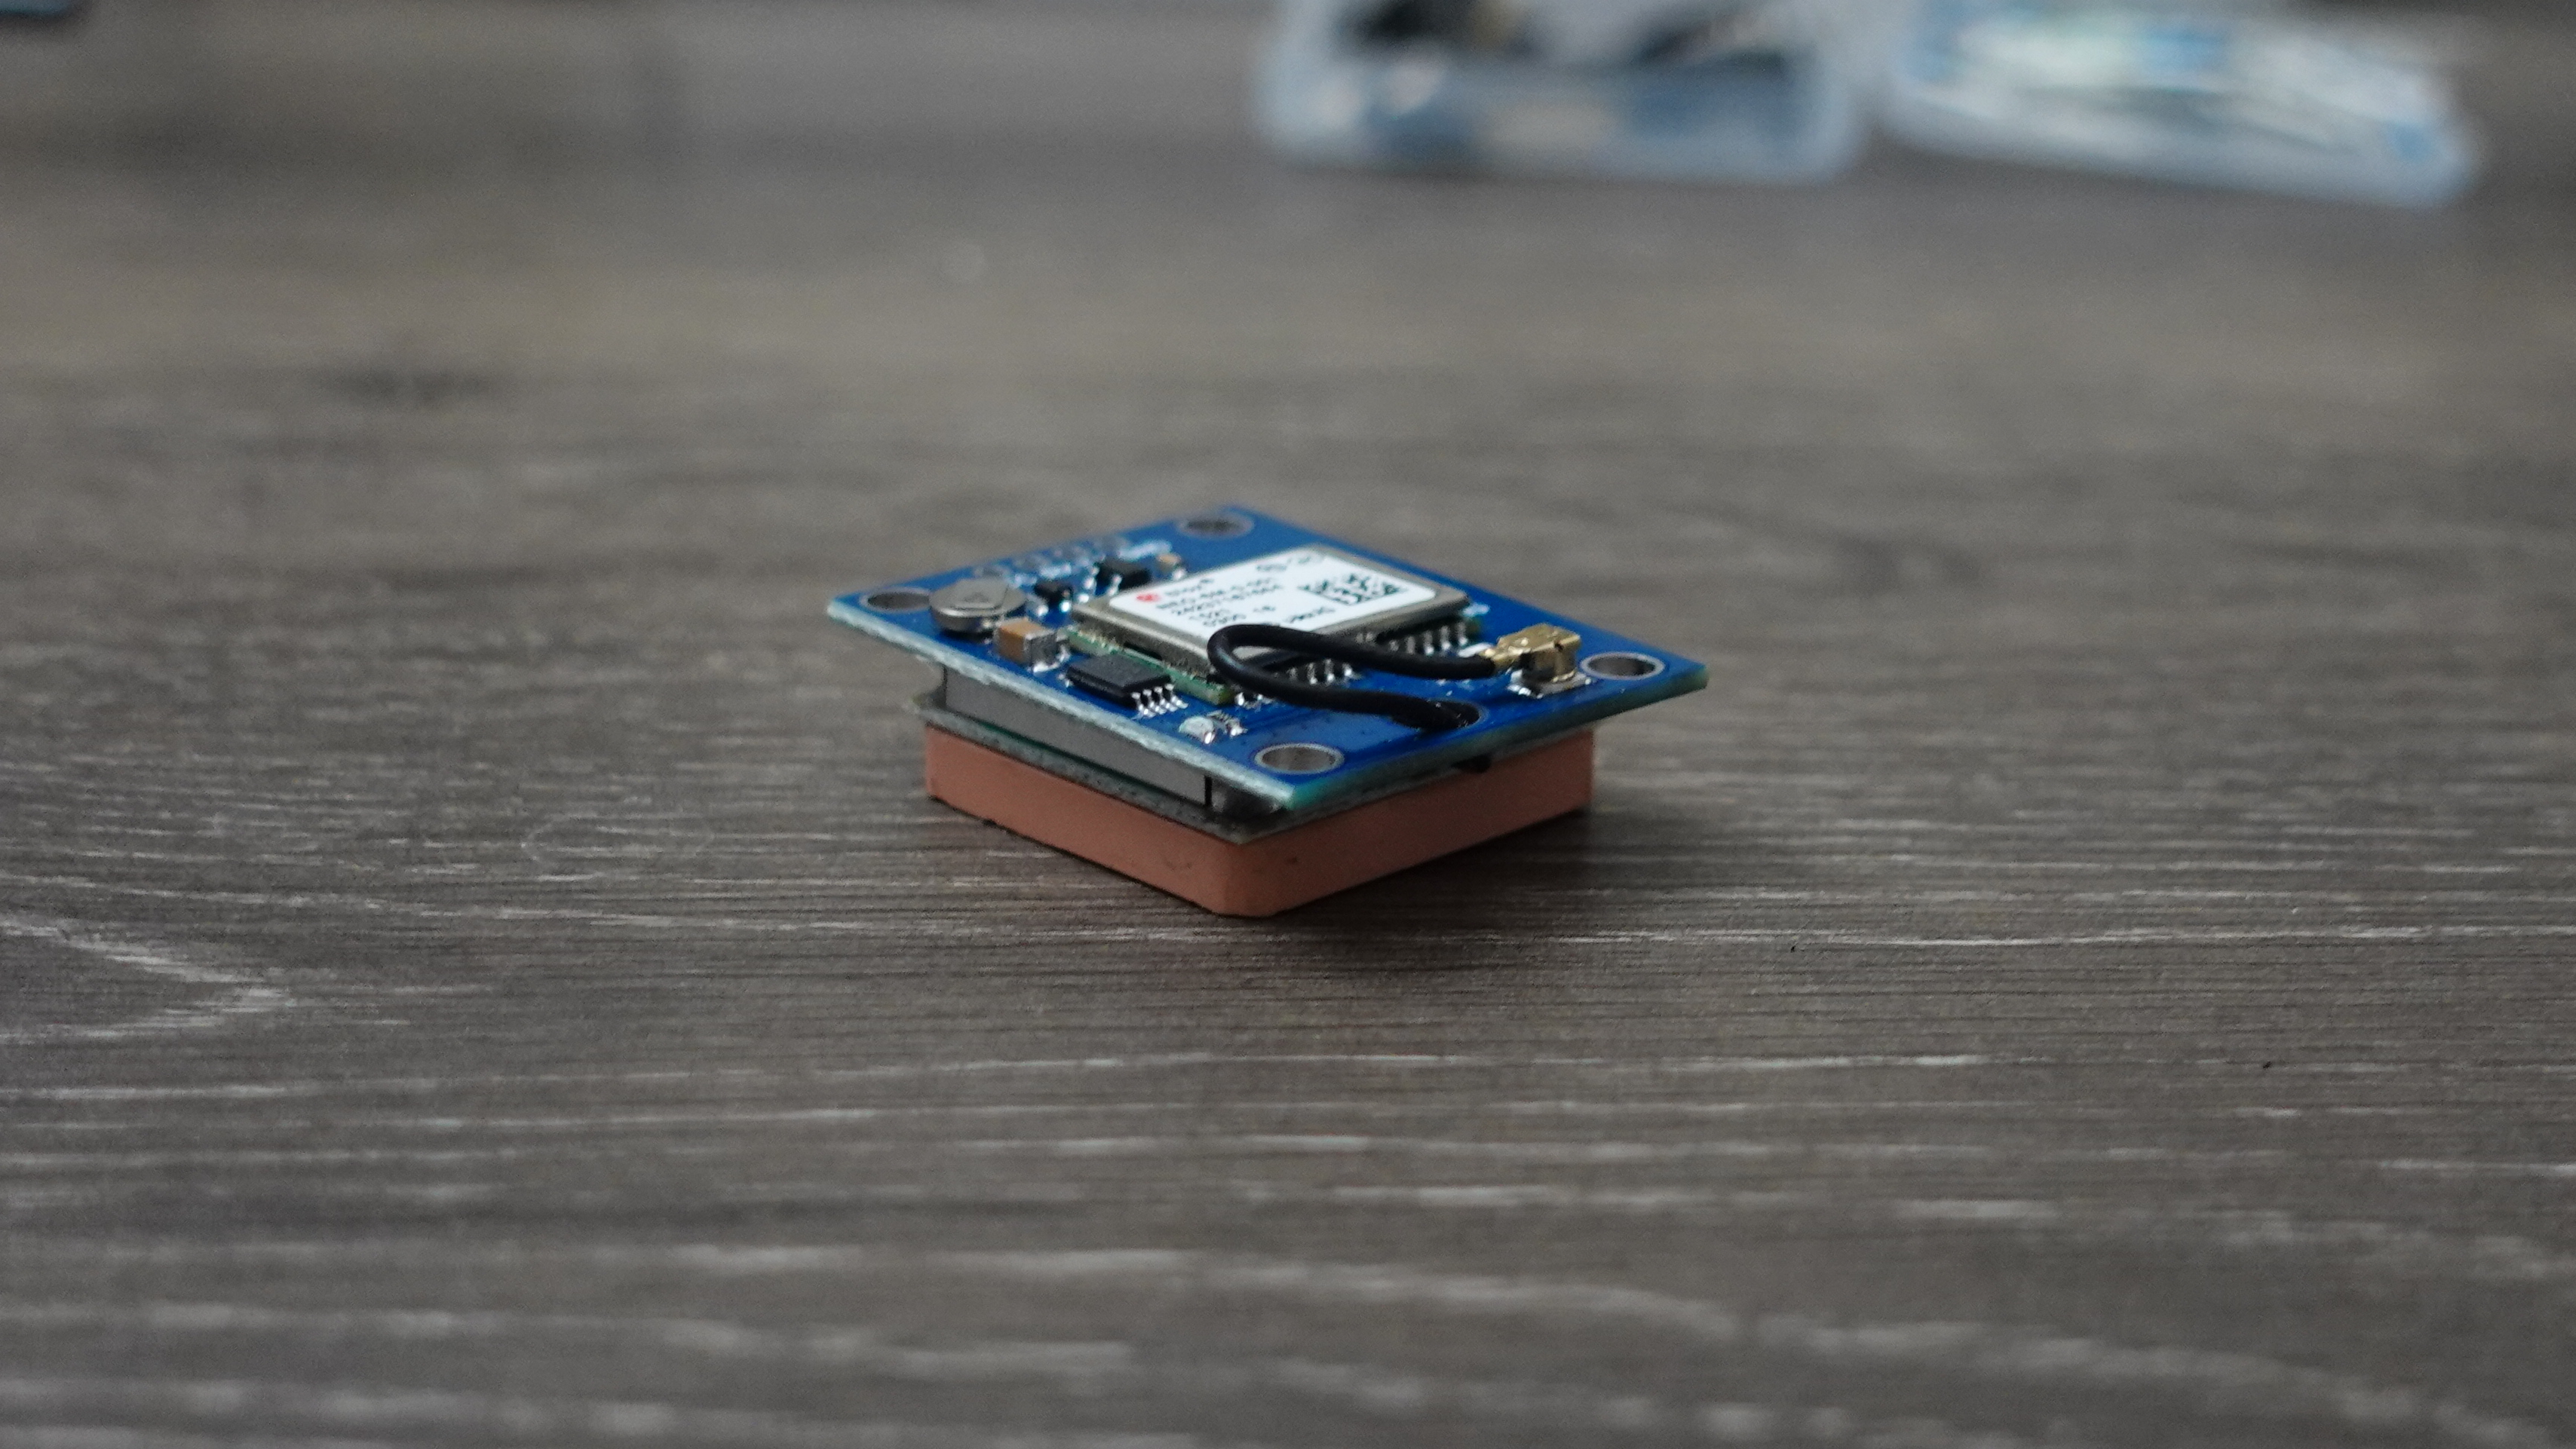
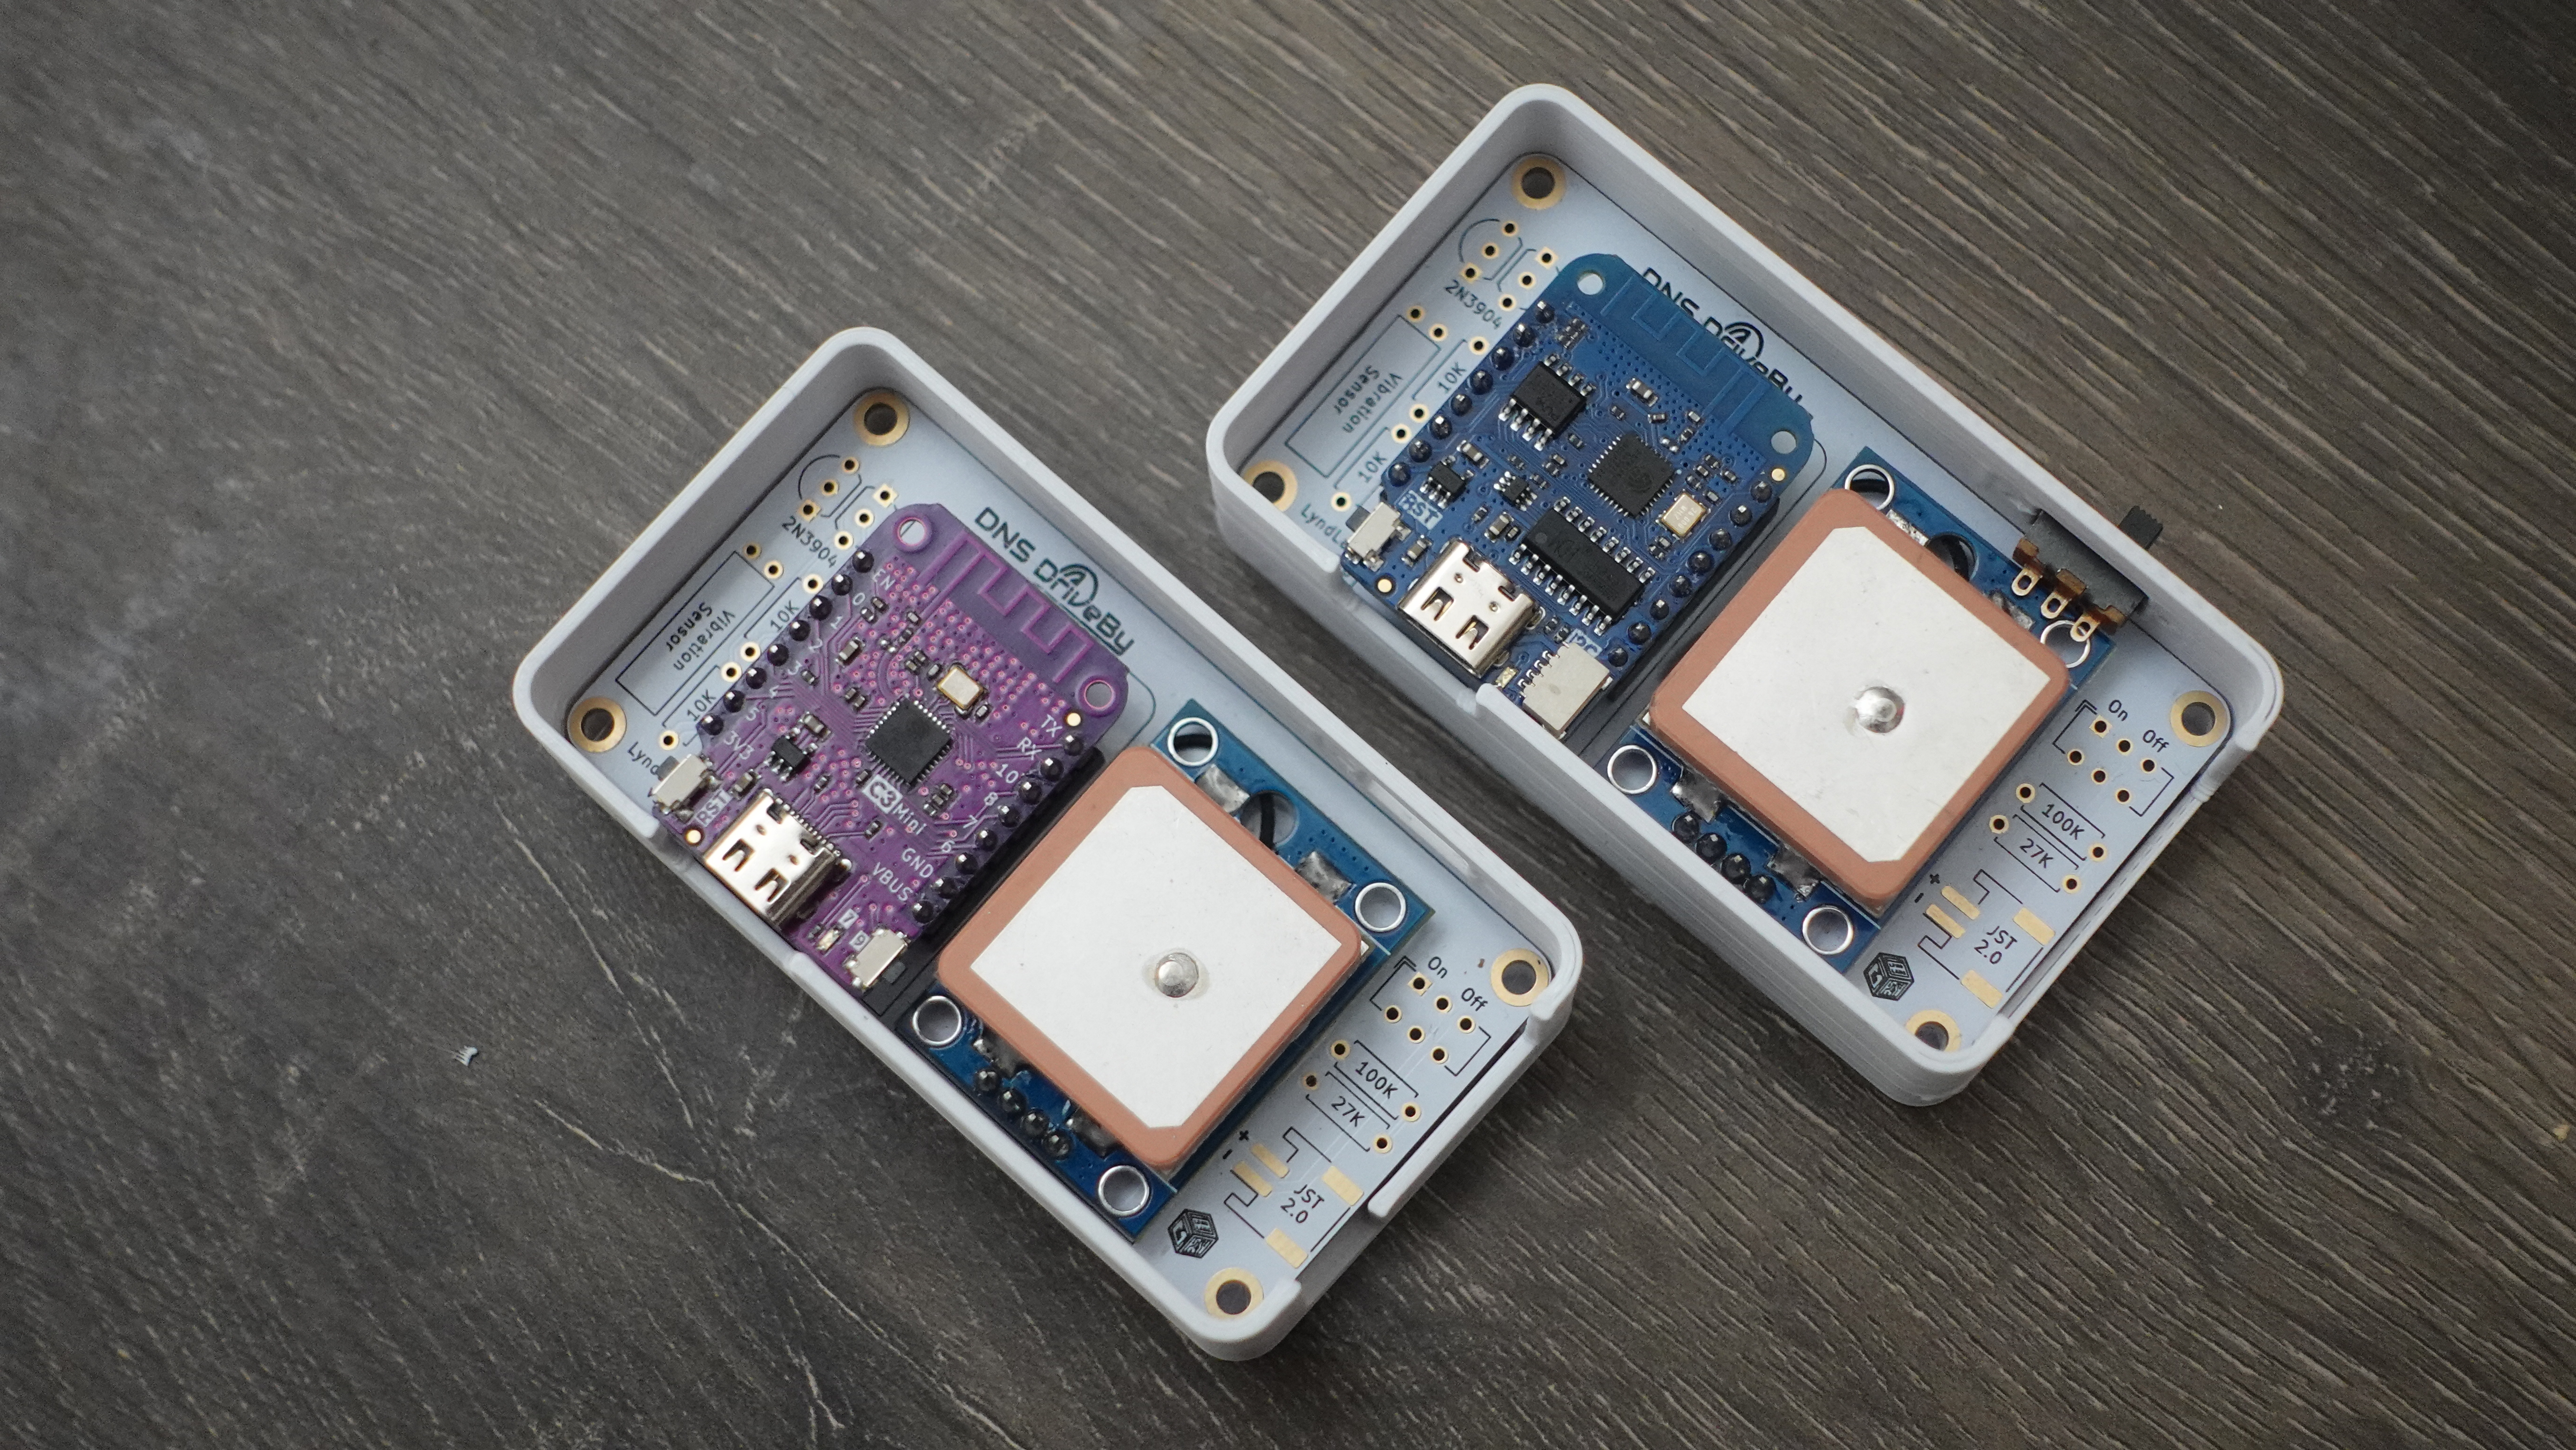
First make sure your kit has all of the following parts! This is everything you need to get started with basic wardriving.
| Main Components | Description | Count |
|---|---|---|
| D1 Mini | ESP8266 Wi-Fi Microcontroller | 1 |
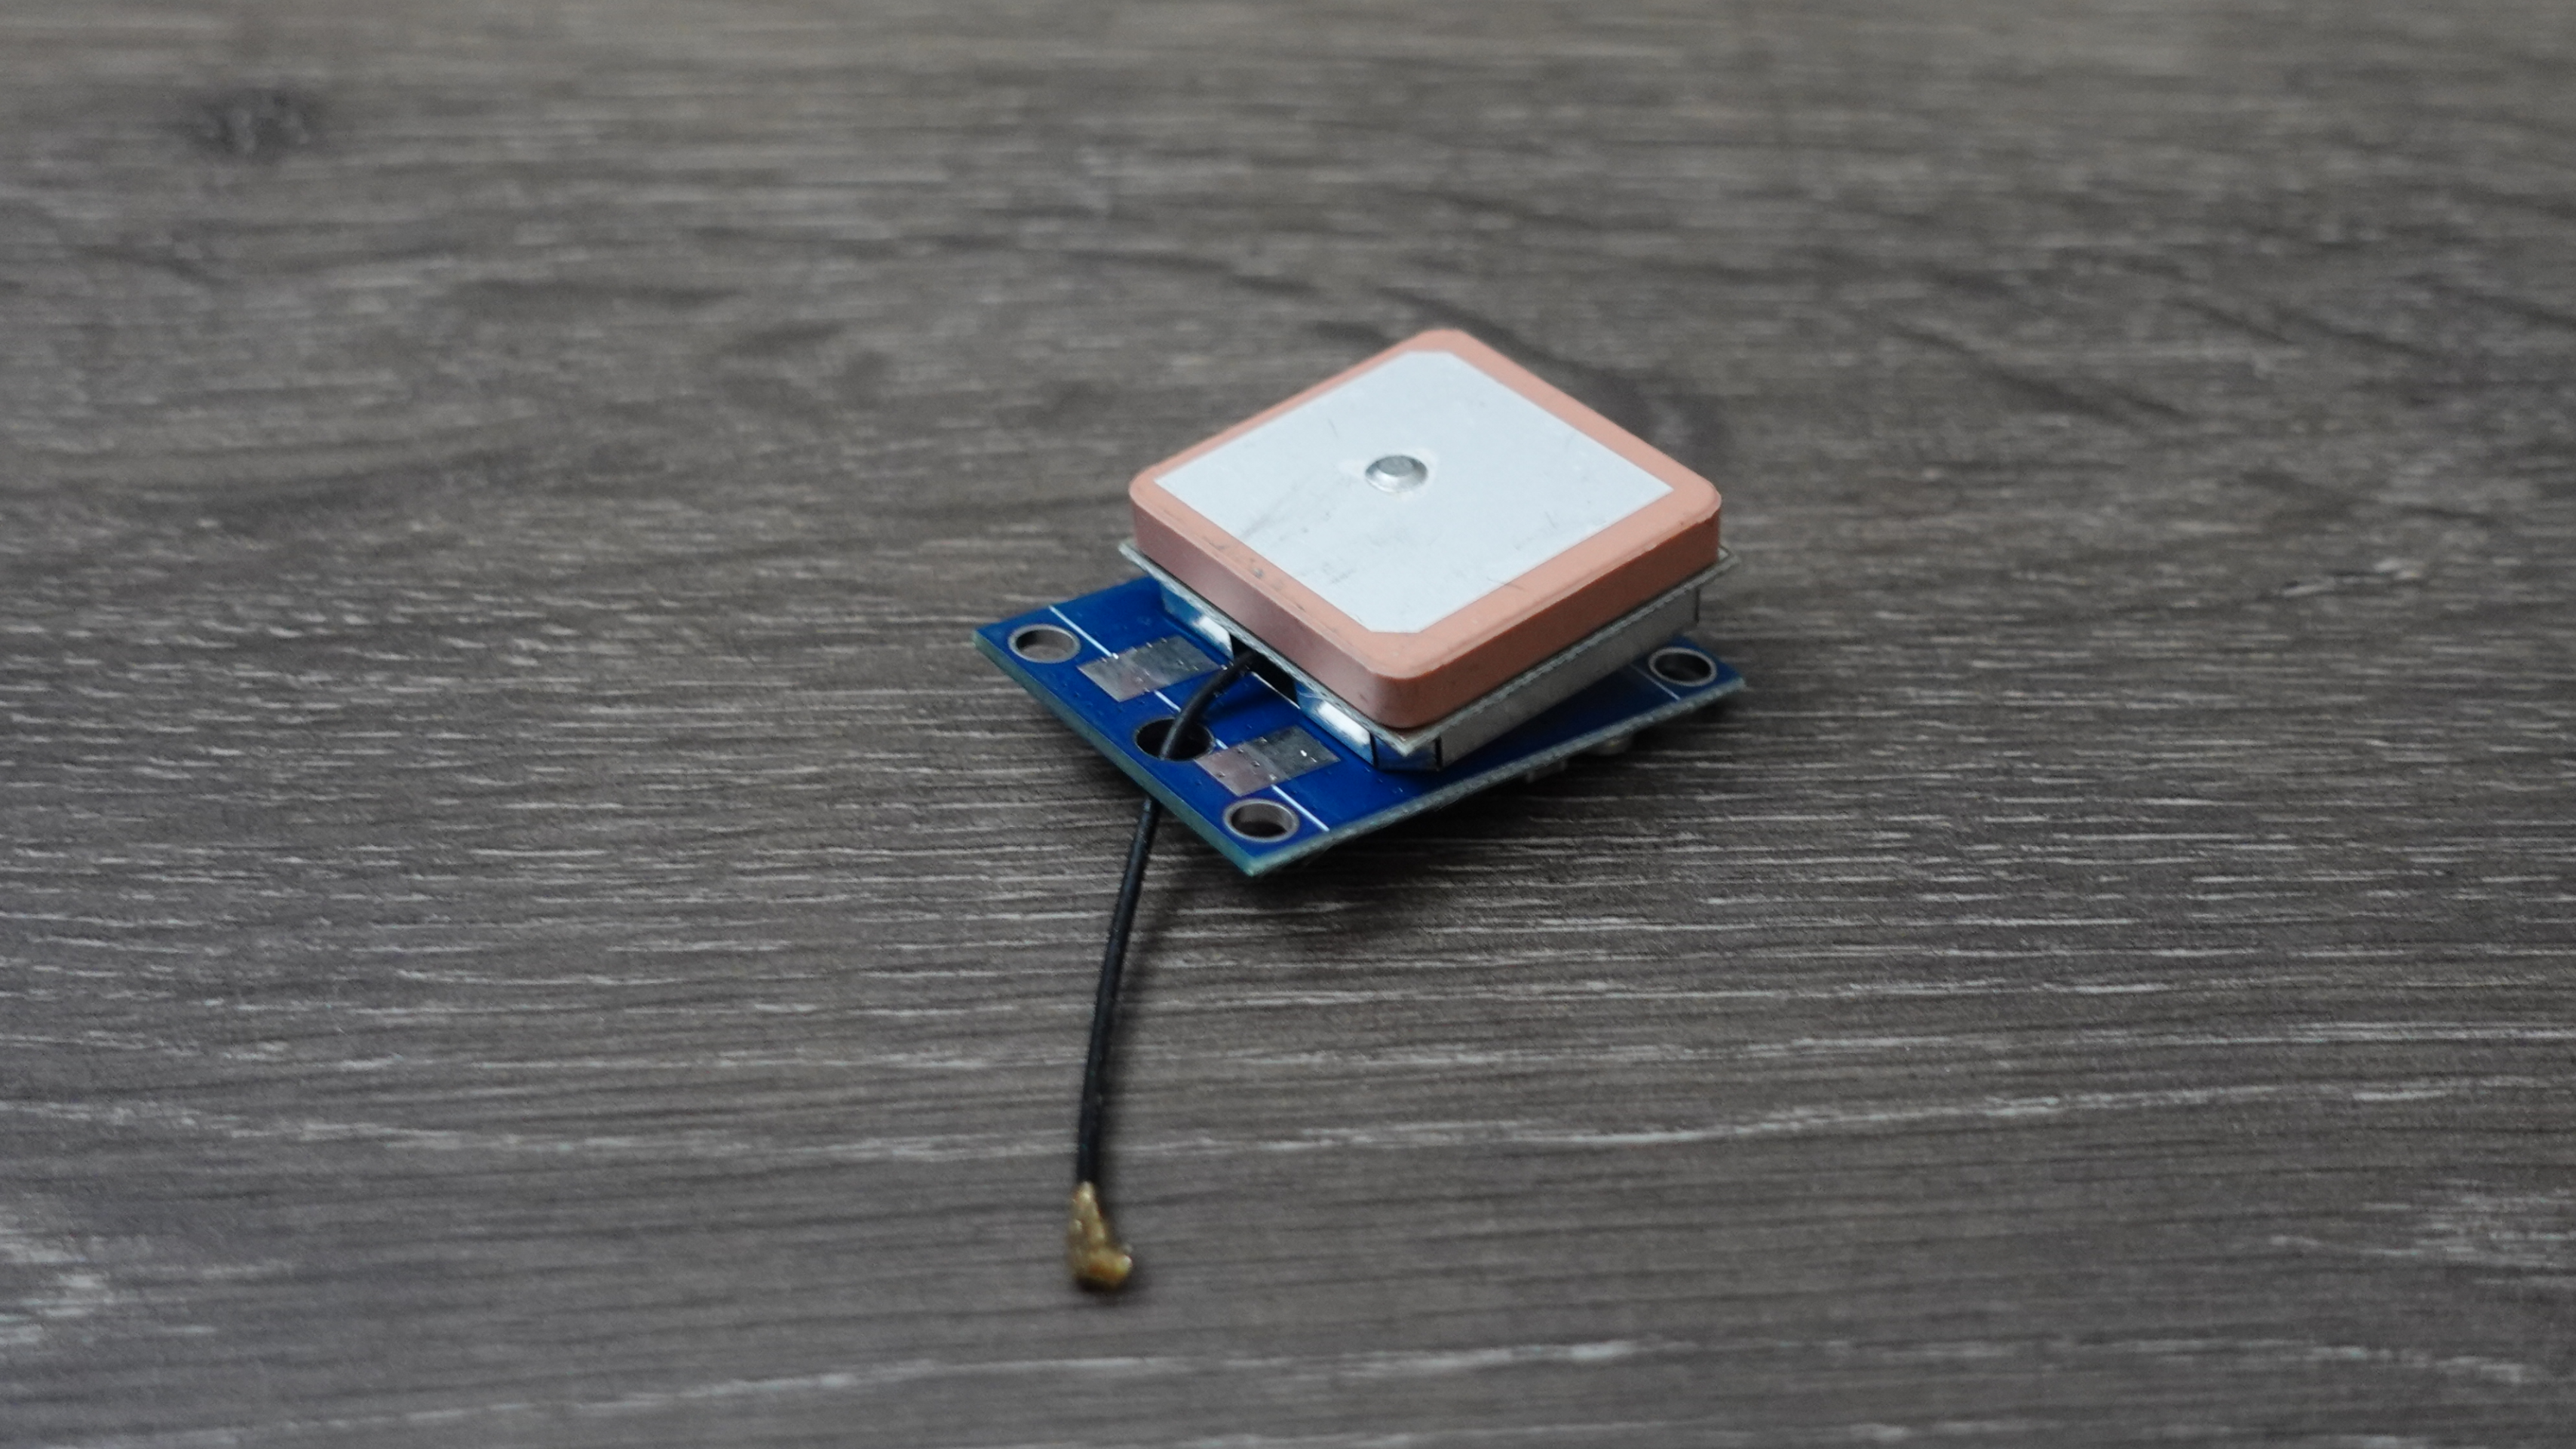
| GPS Module | NEO-6M UART GPS | 1 |
| DNS Driveby PCB | 1 | |
| 3D Printed Enclosure | 1 | |
| Female Socket | For Mounting the Microcontroller | 2 |
| Male Header | D1 Mini Headers | 2 |
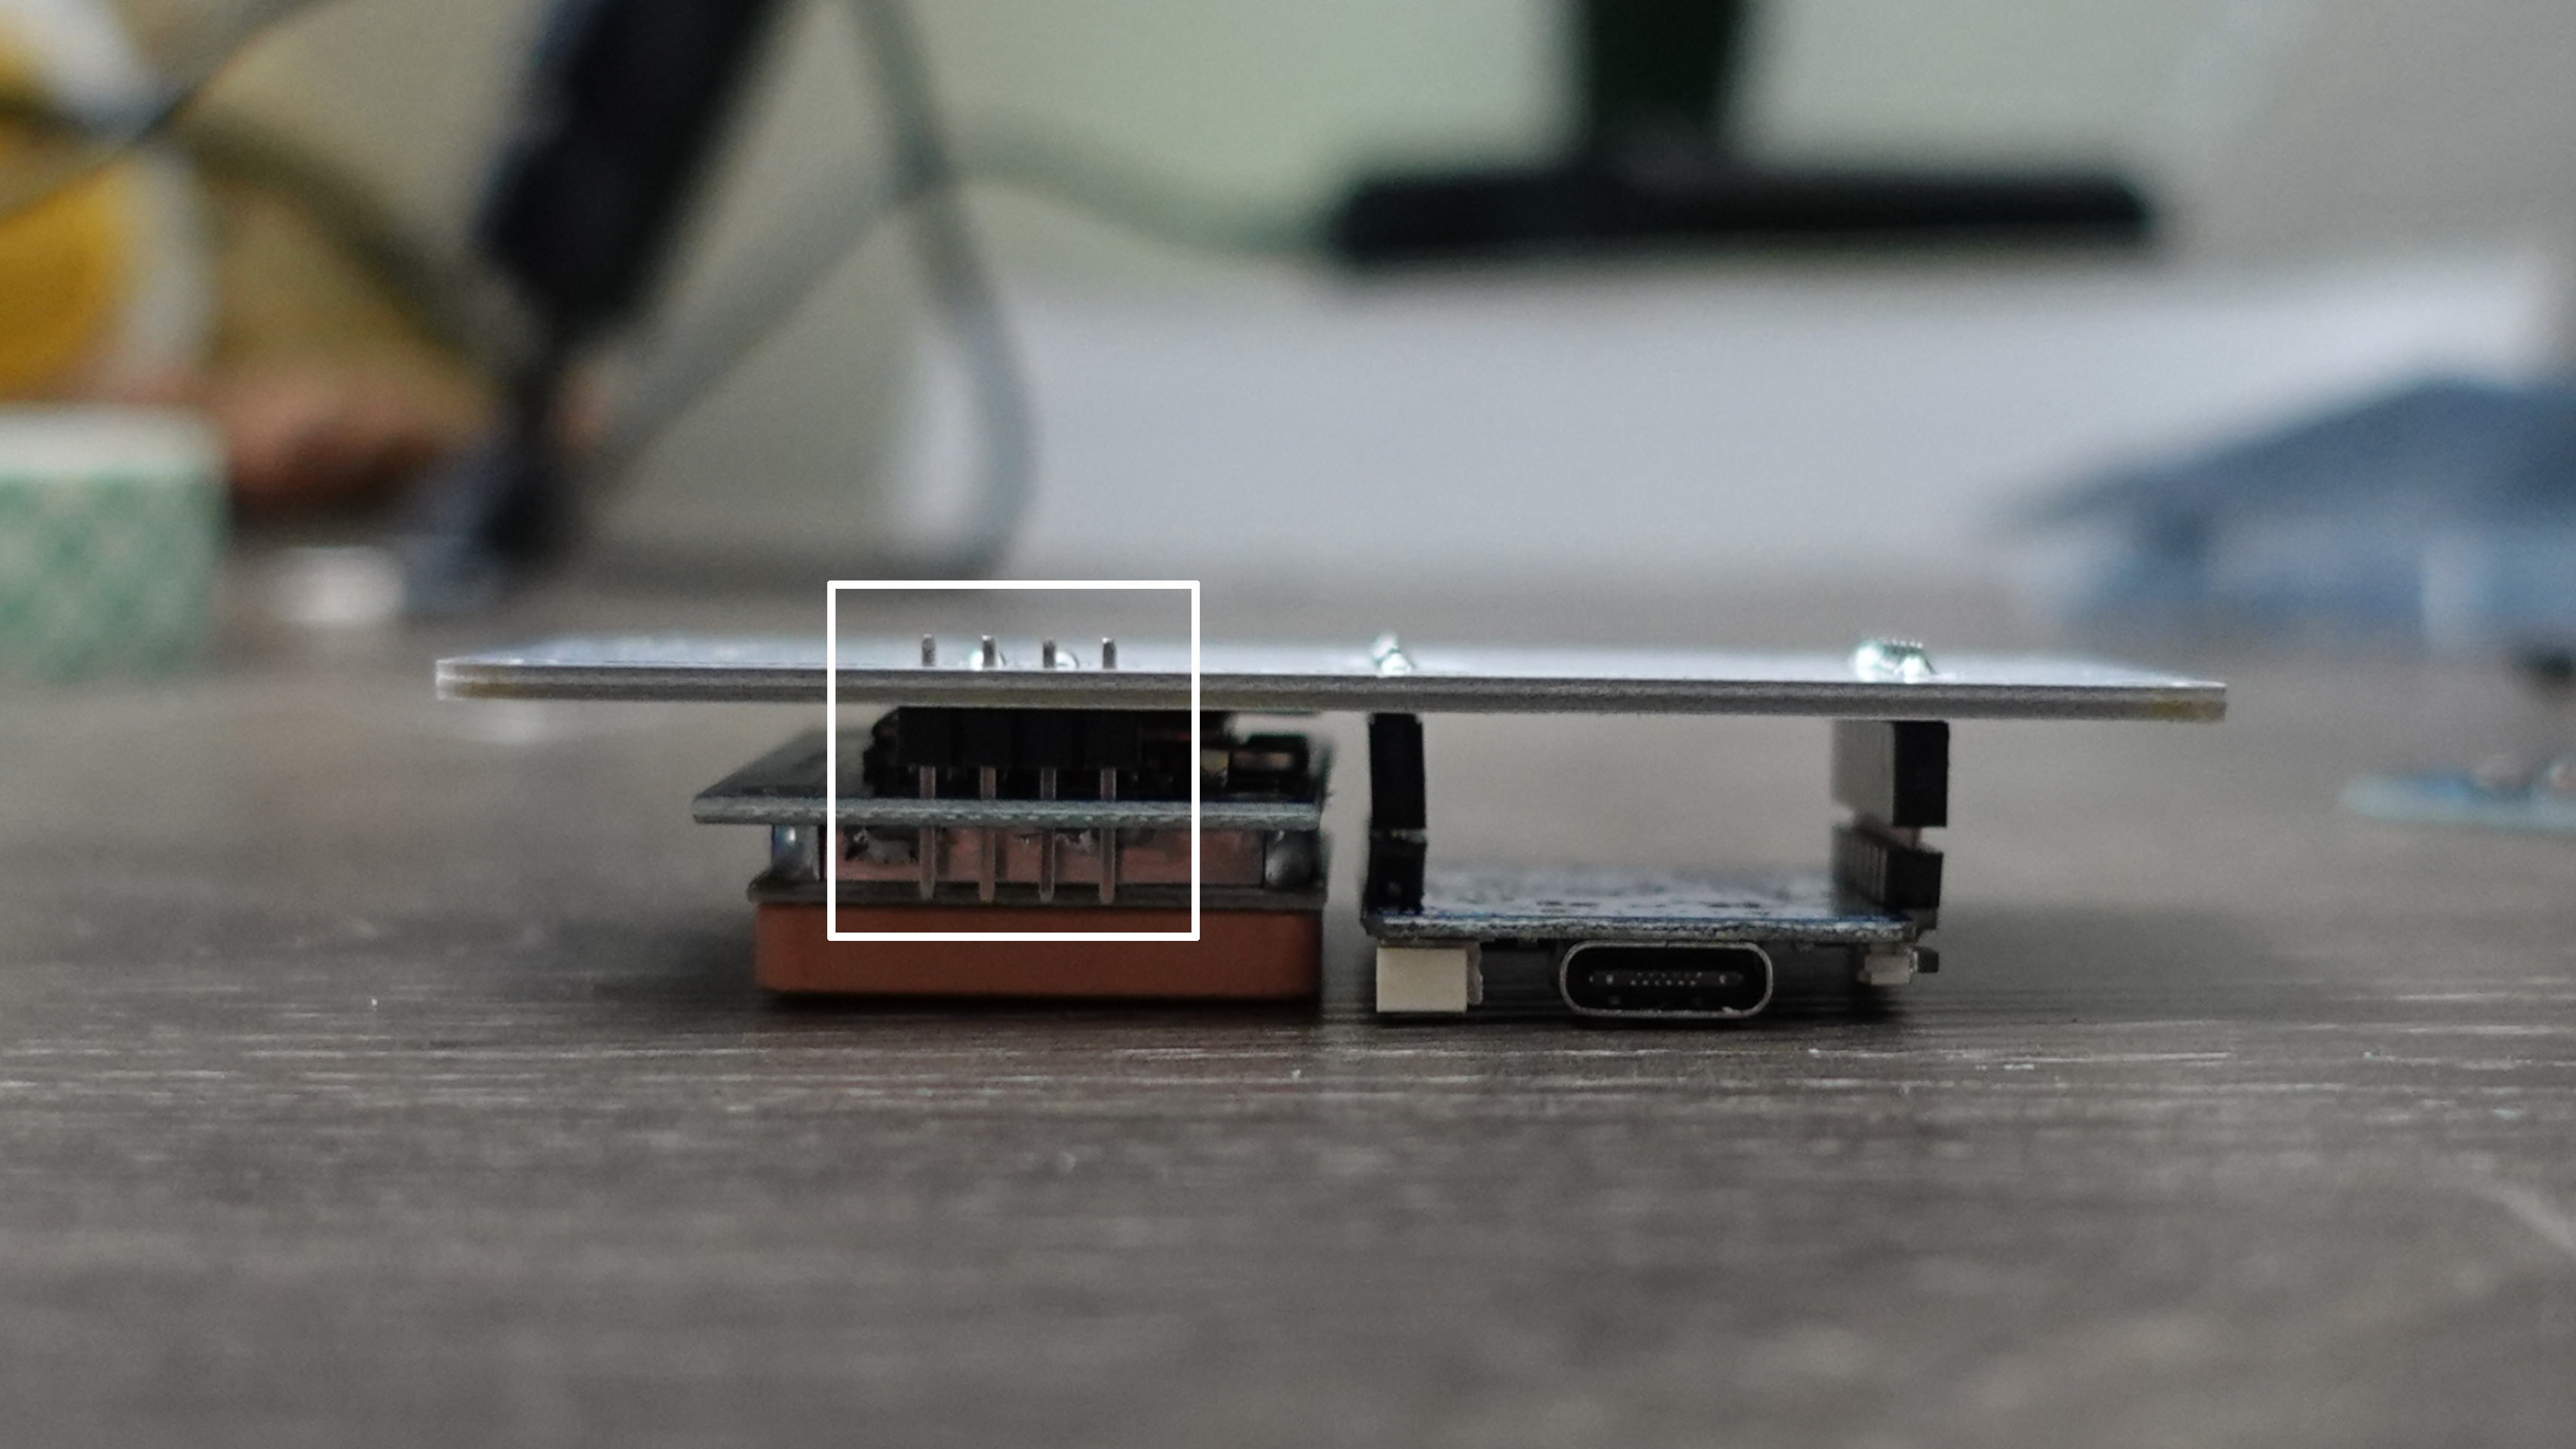
1. PCB Socket
Tips
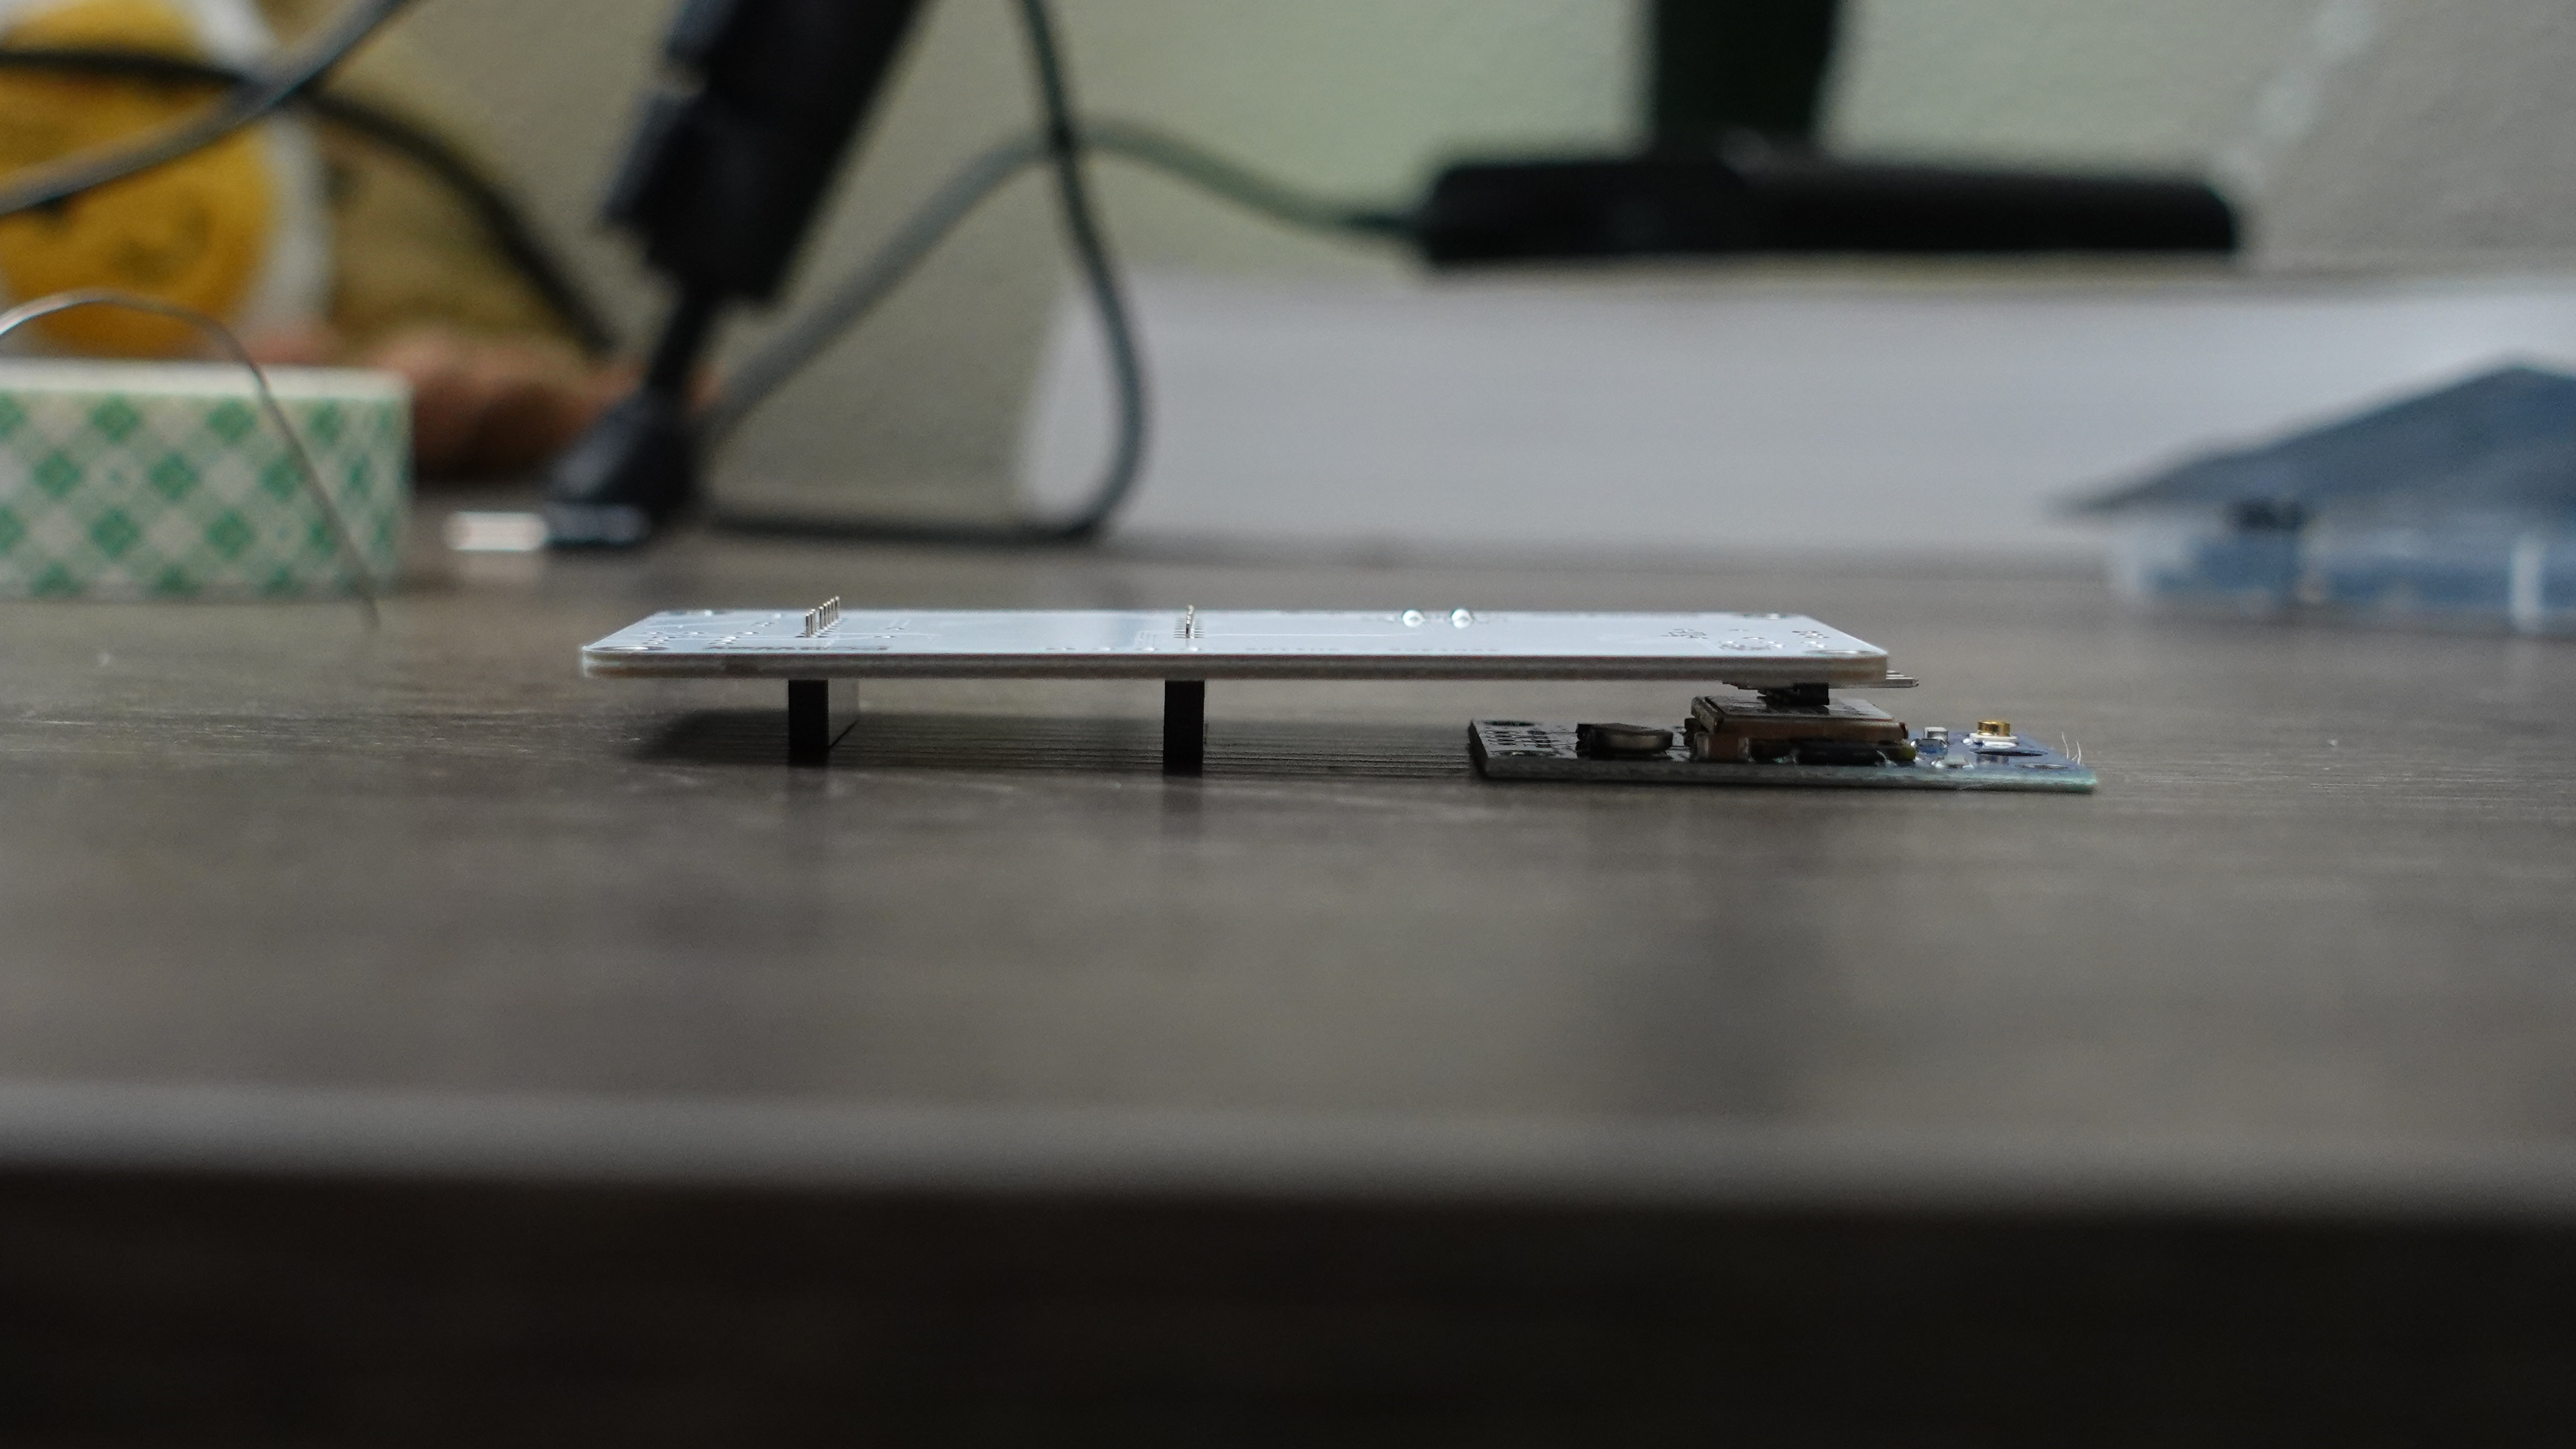
- Insert the 2 female sockets on the PCB face up.
- Flip the PCB over so the sockets are flush on a table or flat surface - and solder!
- You can balance the PCB by putting something underneath the other end (I used the GPS module)
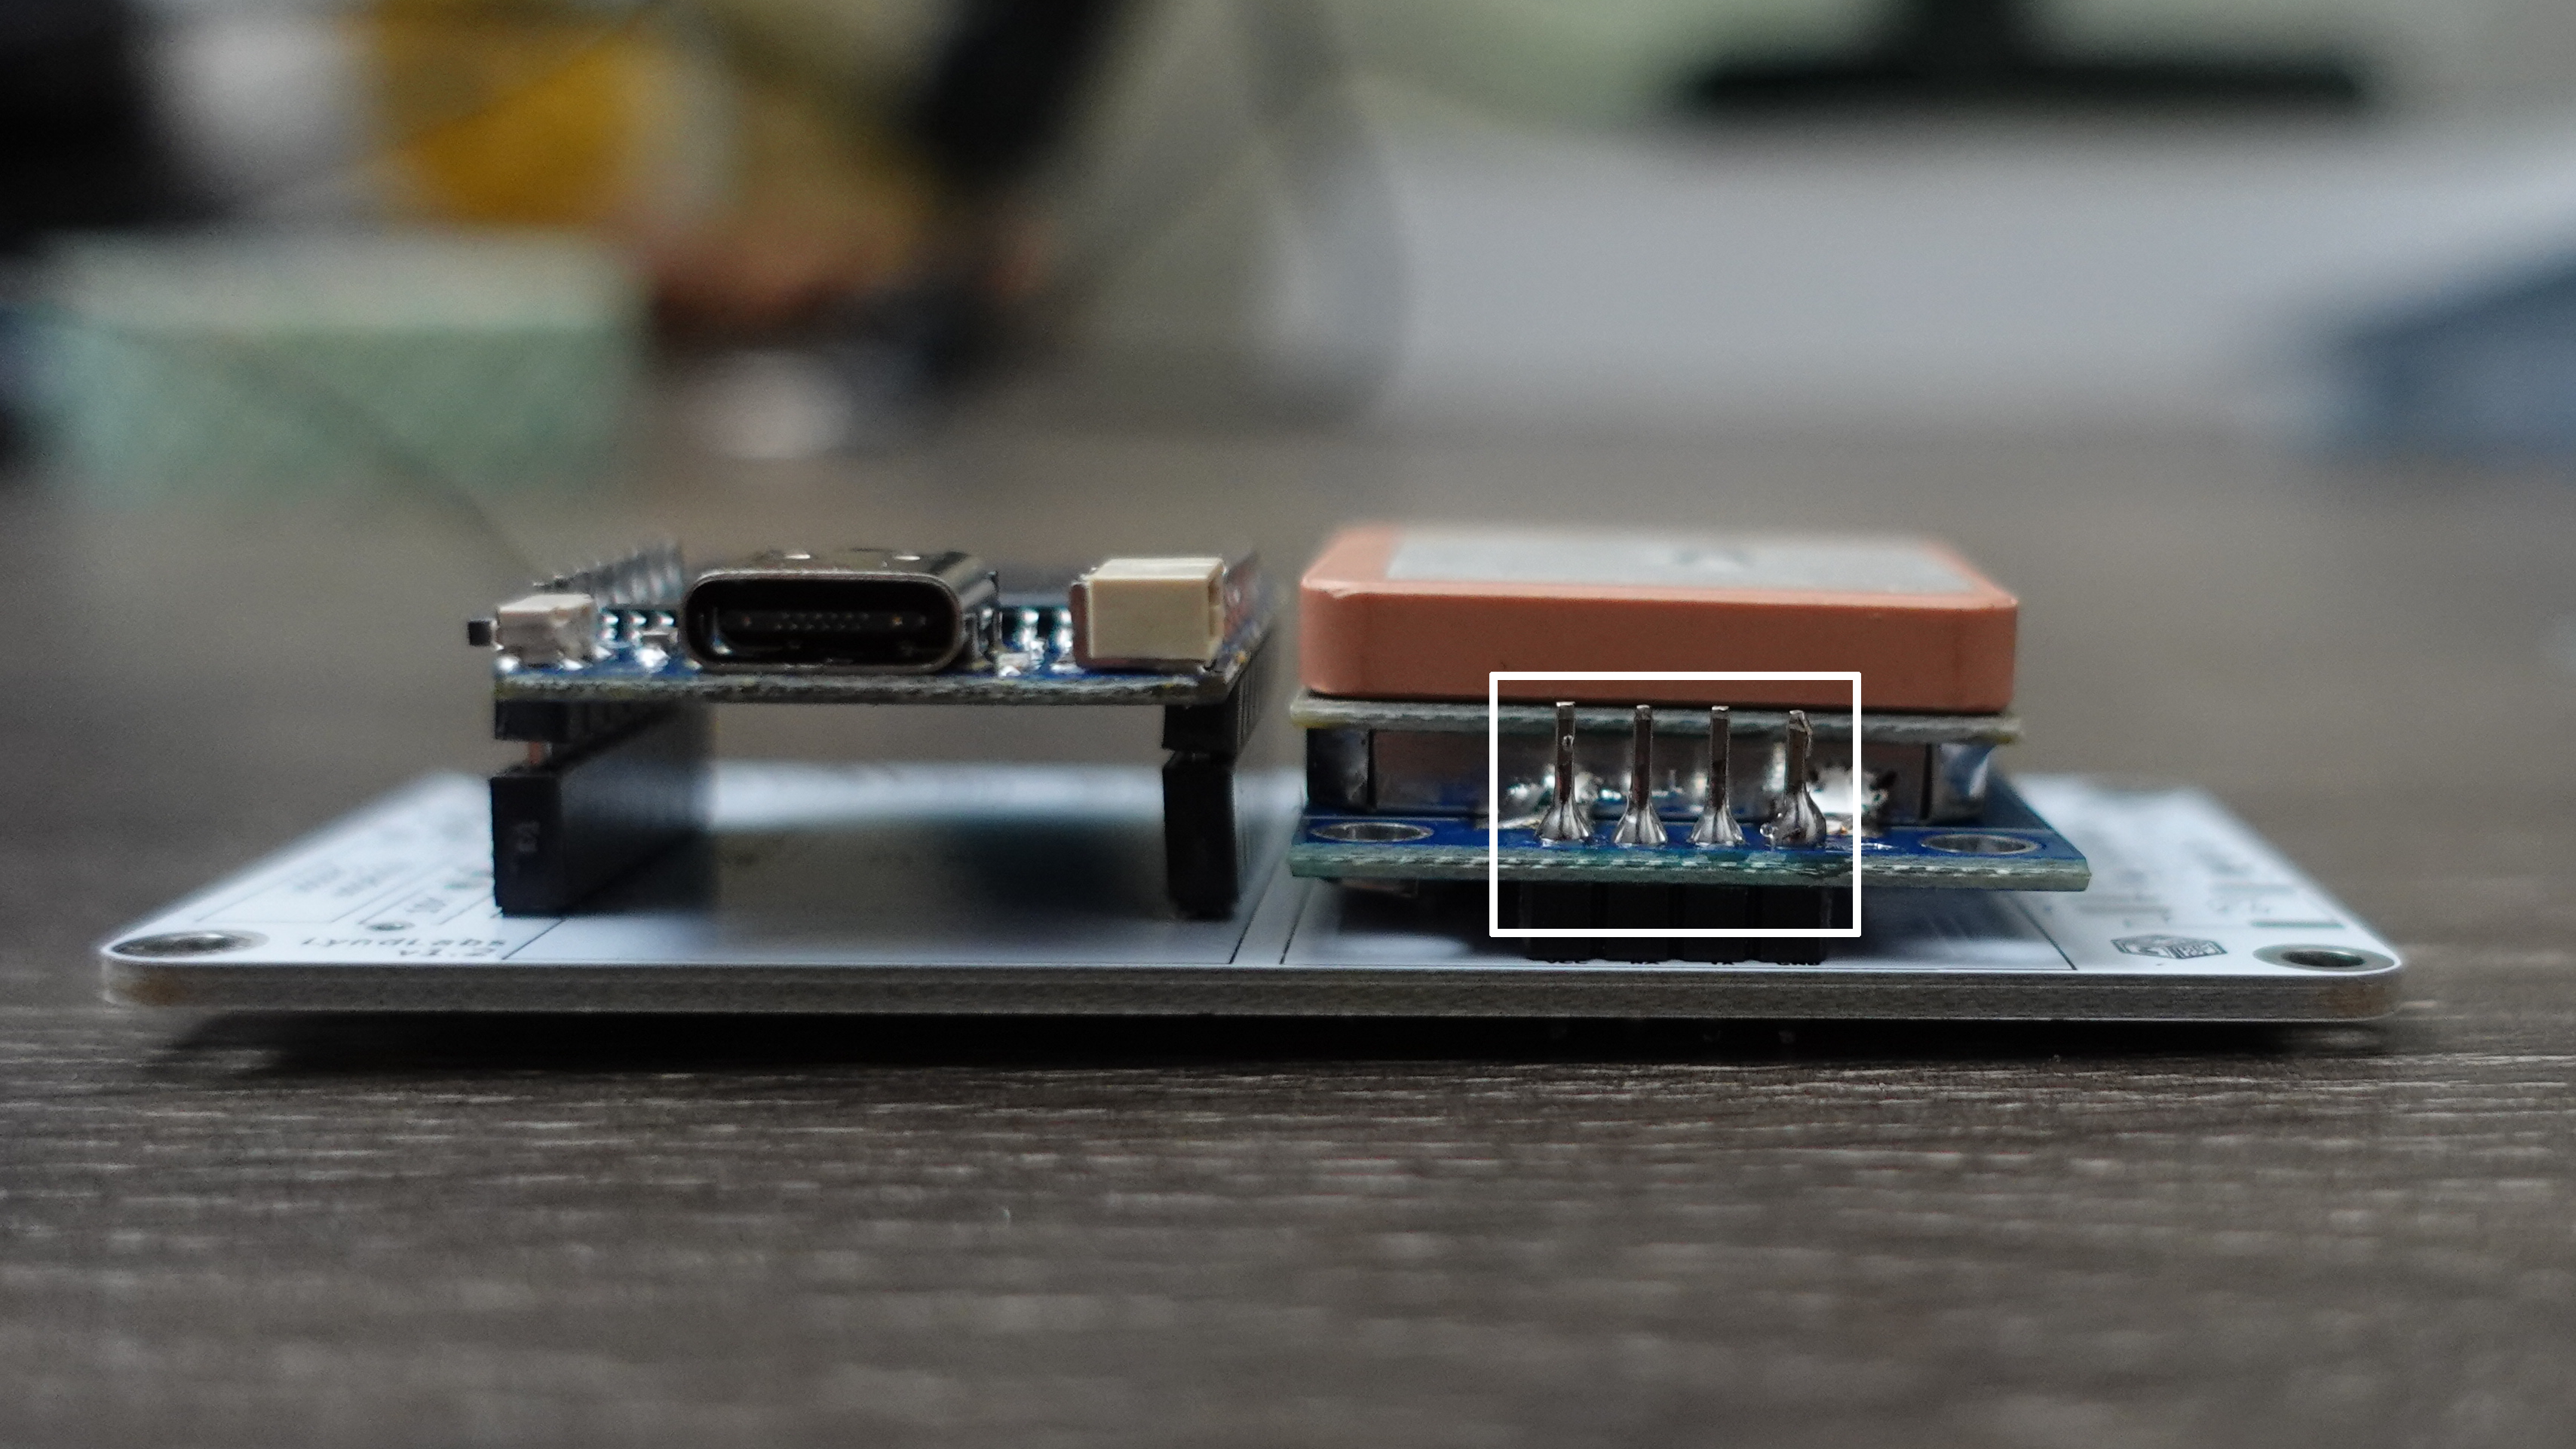
2. D1 Mini
Tips
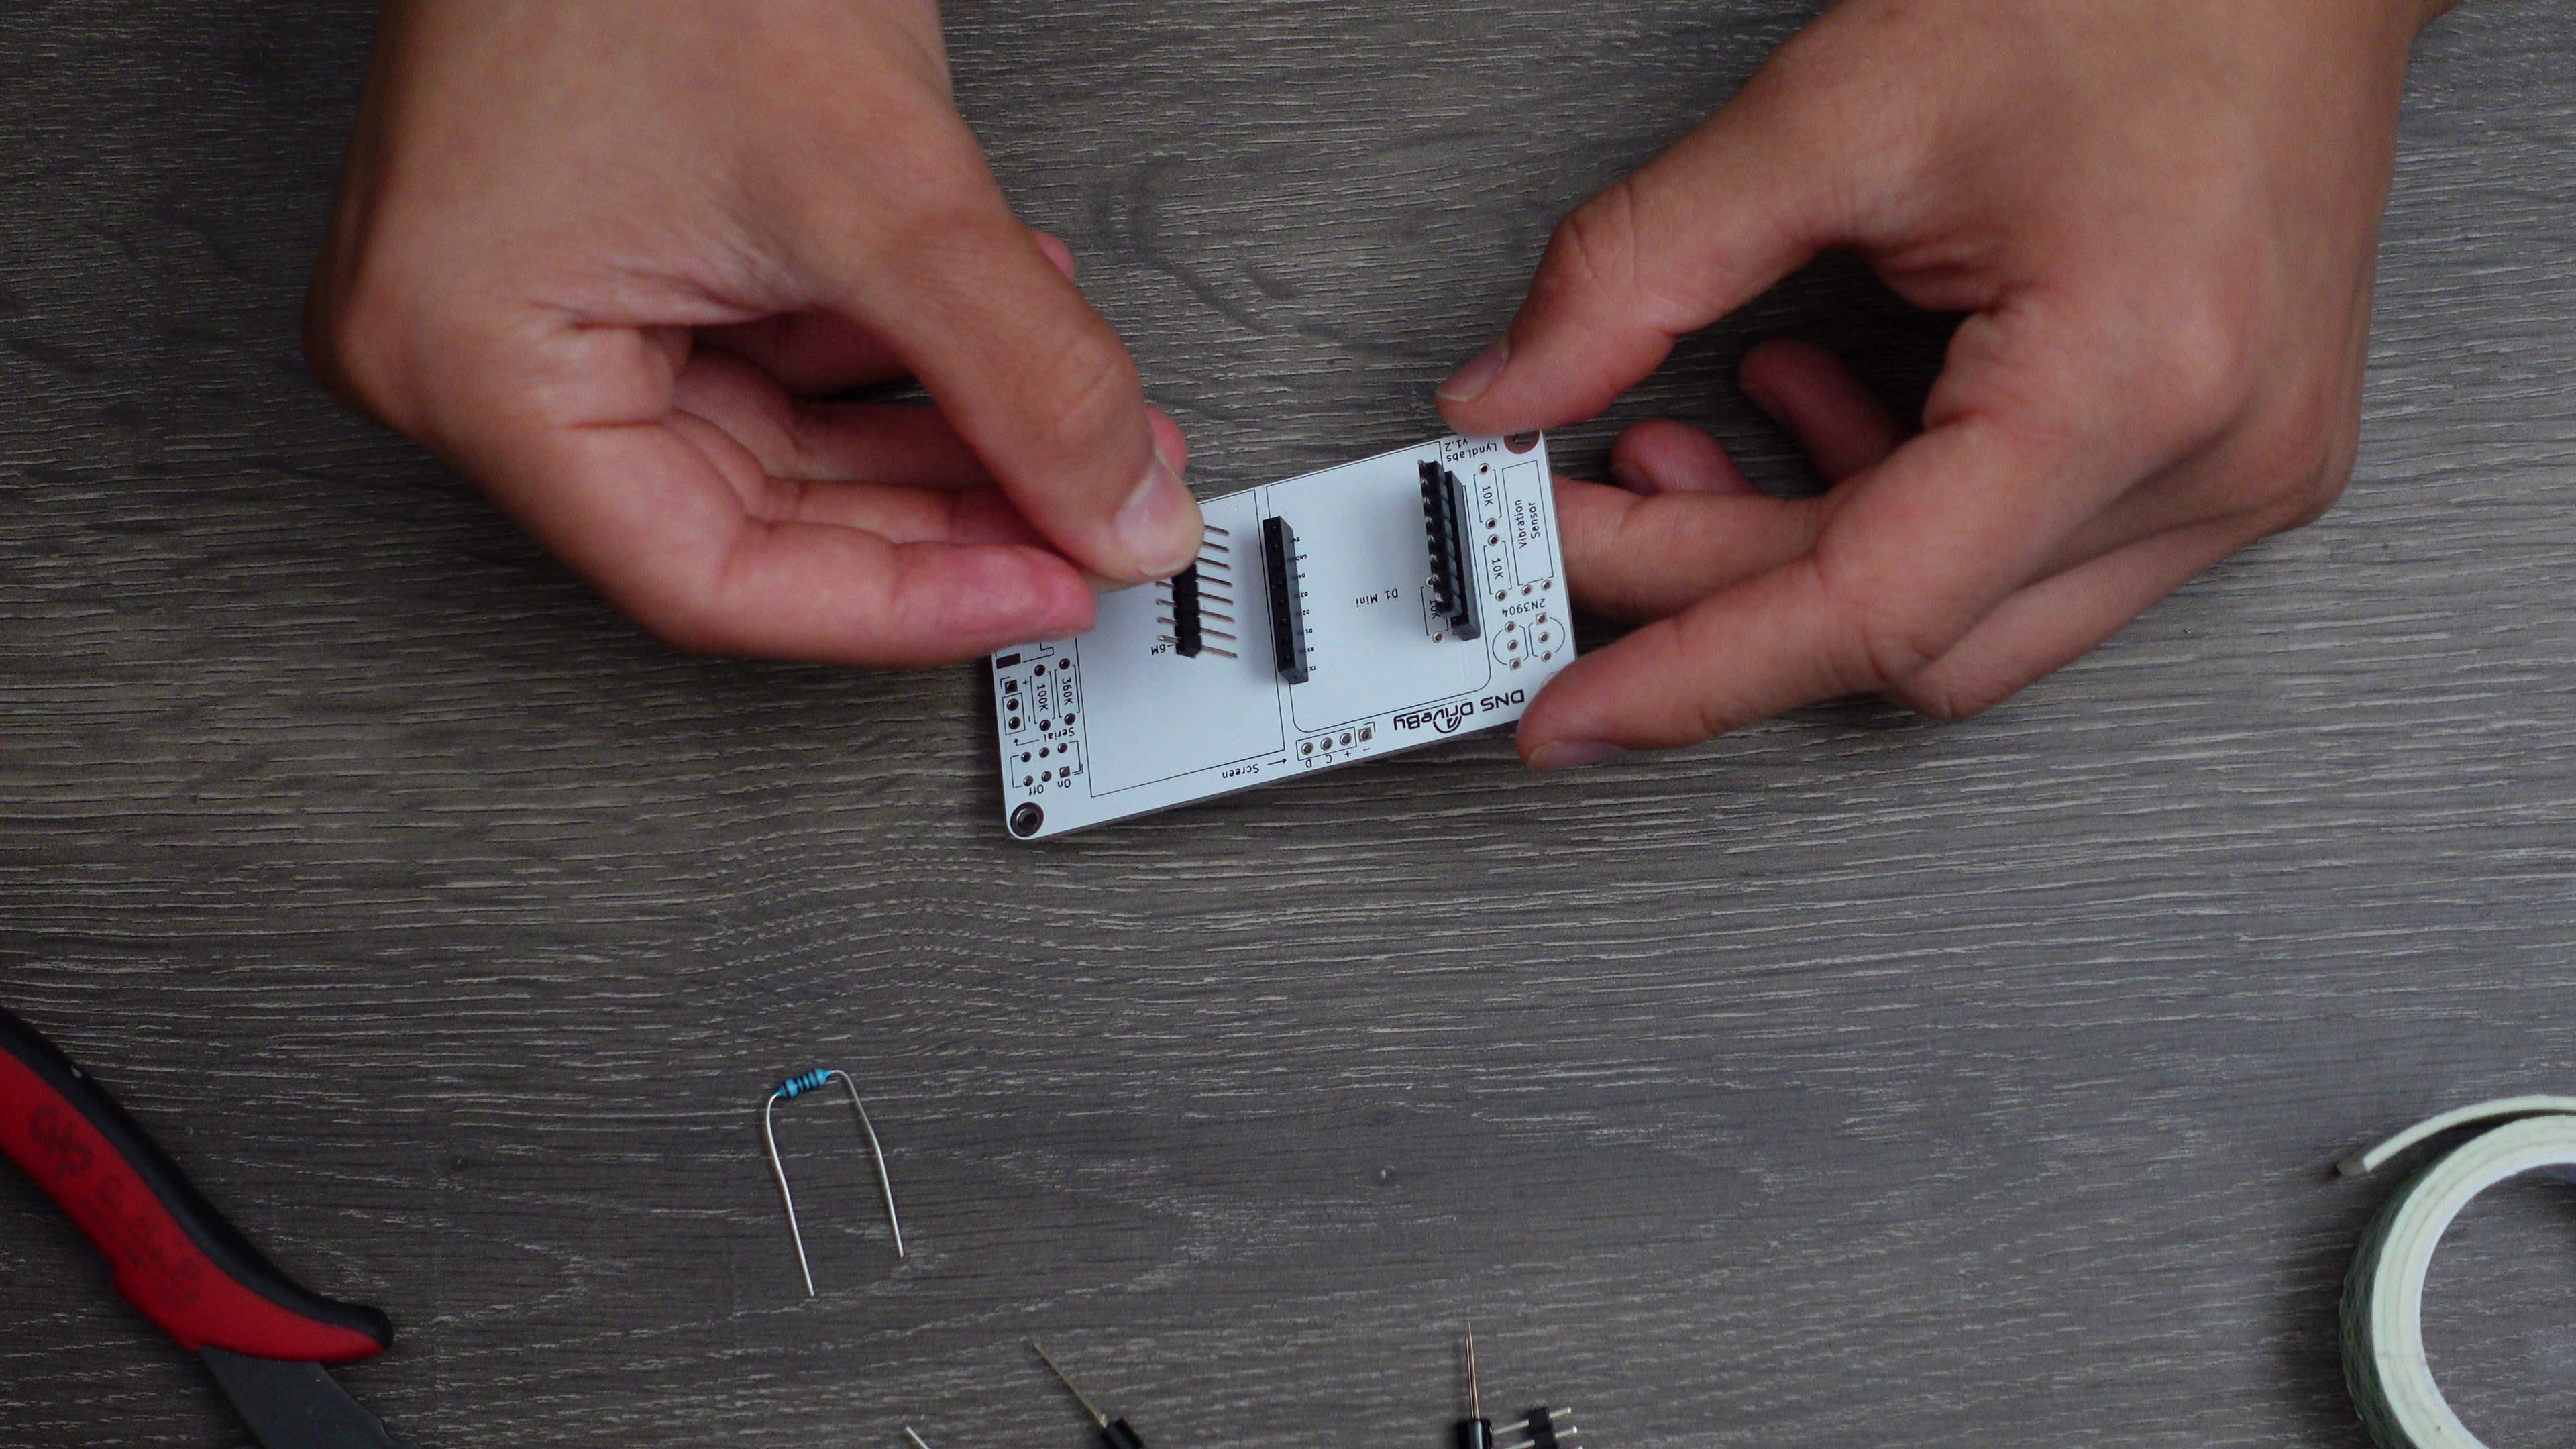
- Insert the 2 male headers in the PCB socket, long side down
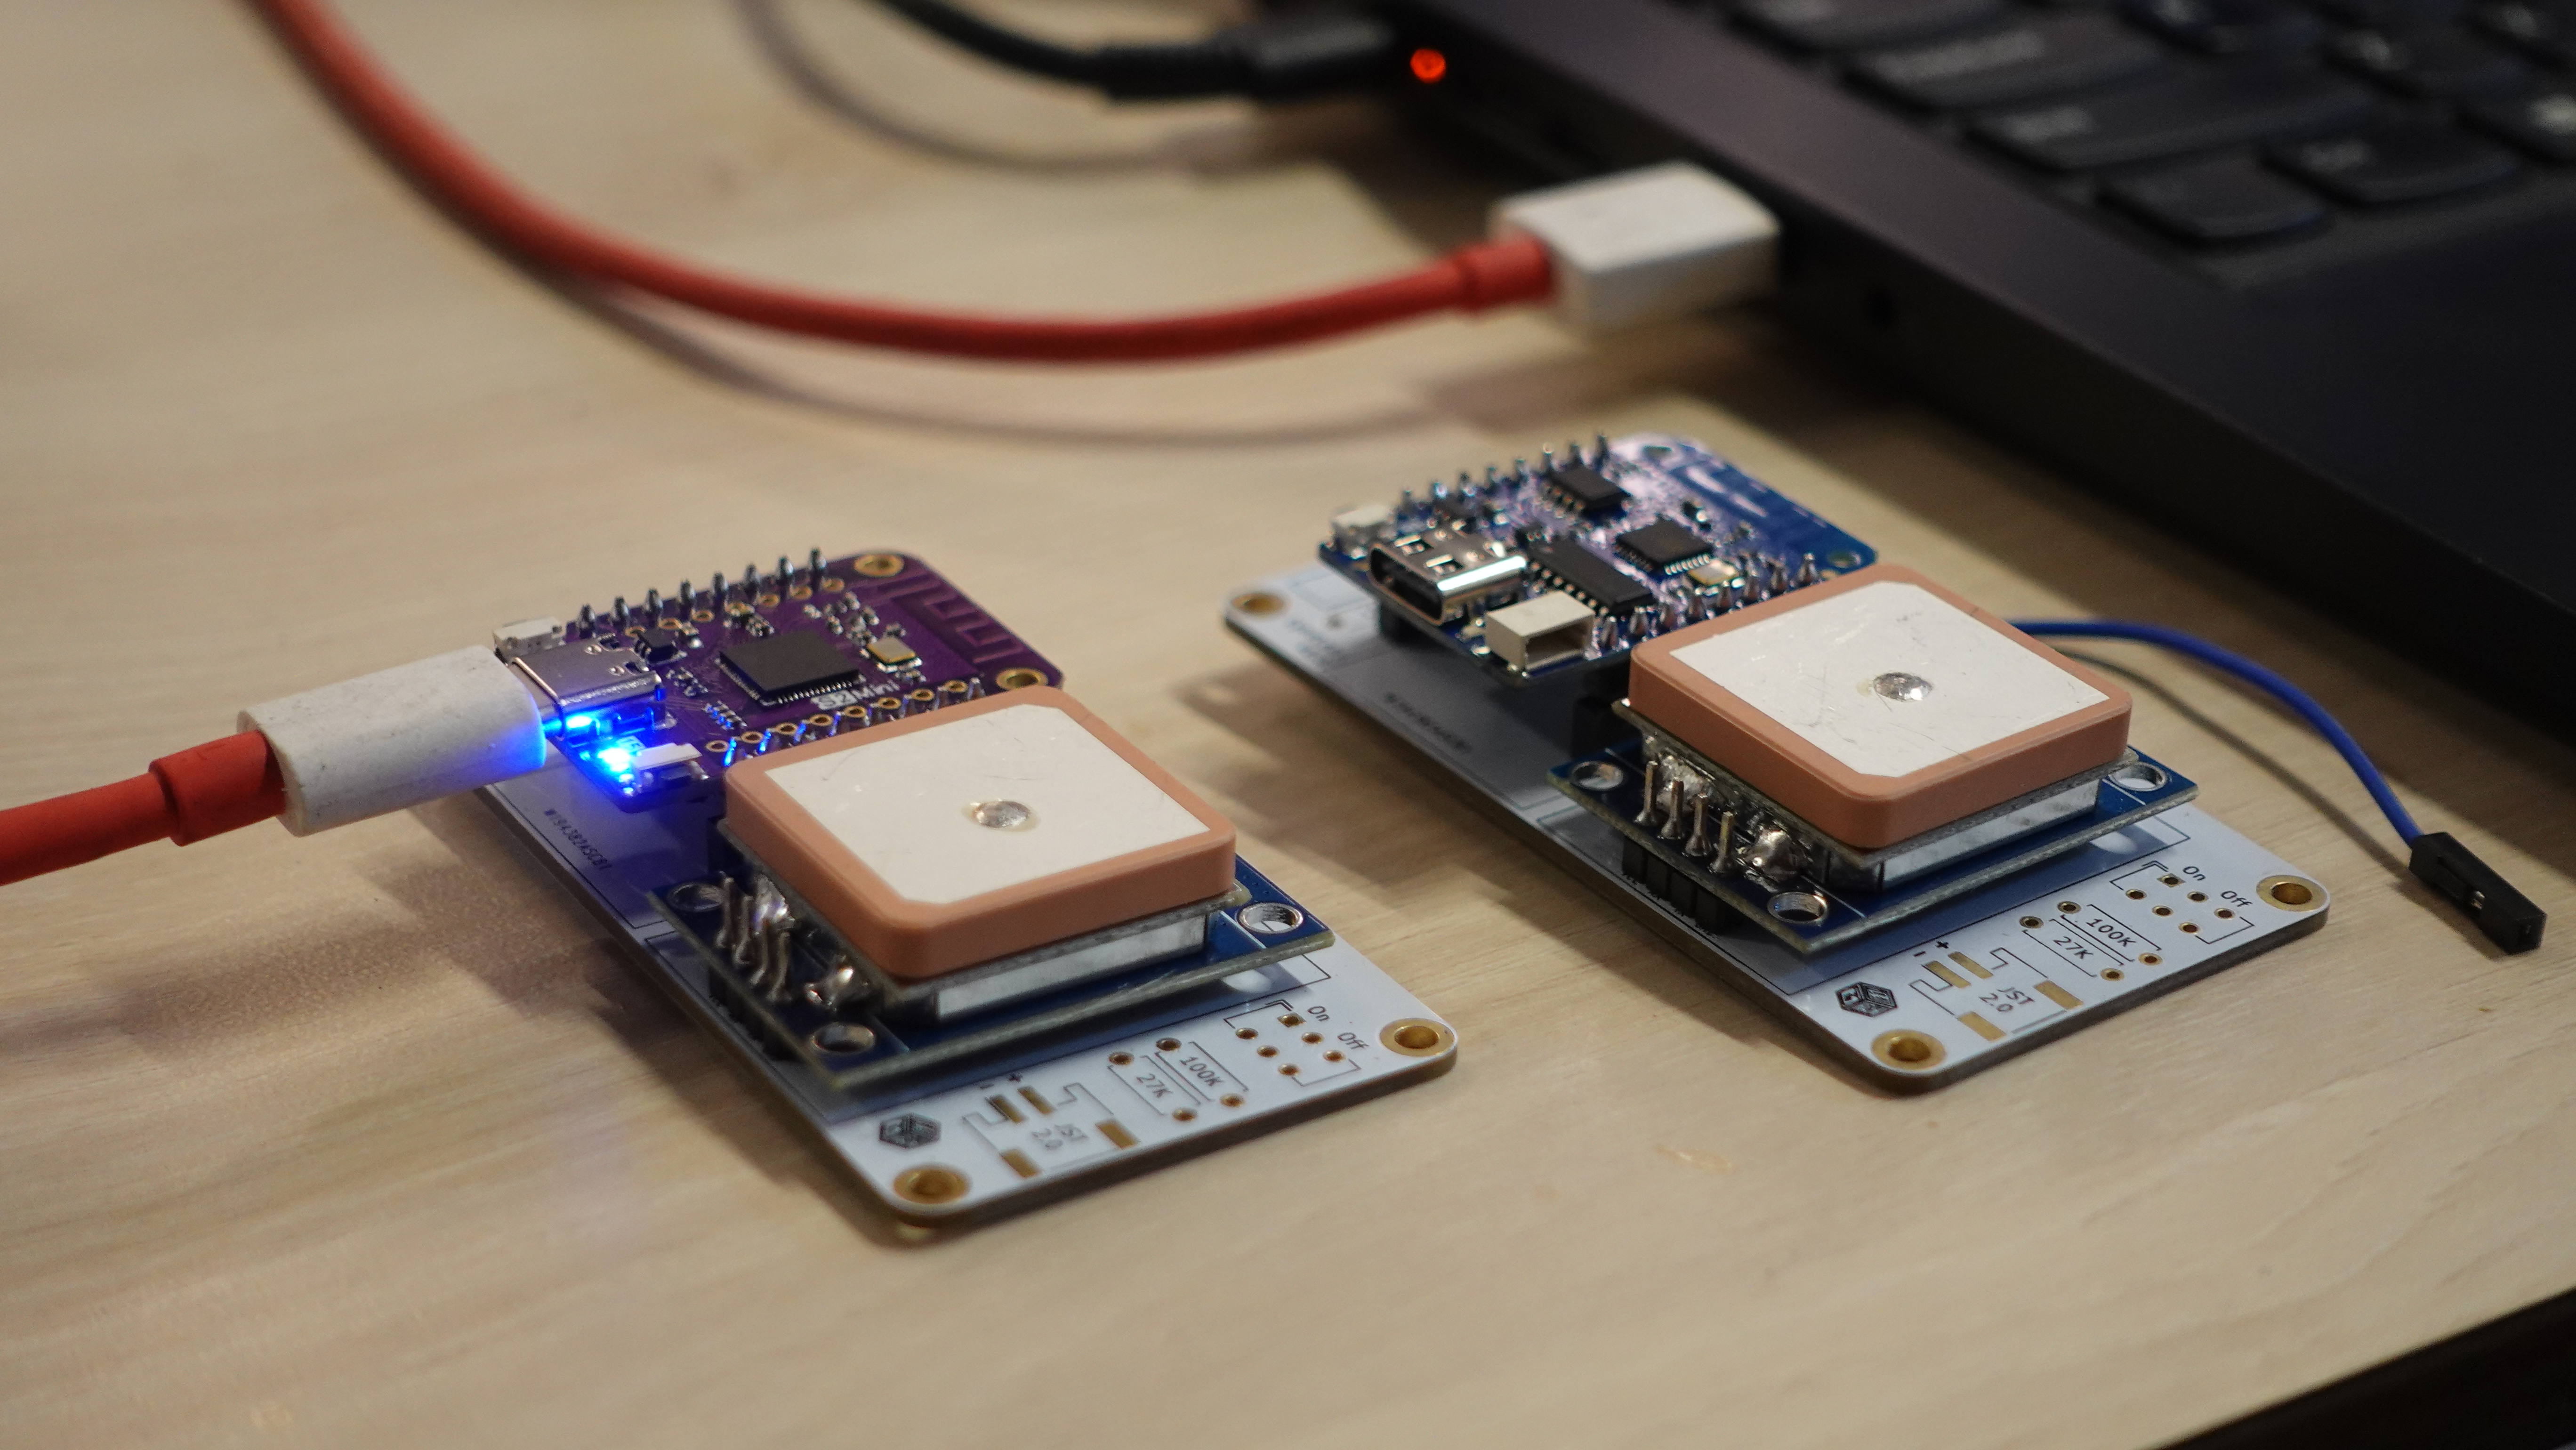
- Stack the D1 mini on top, and solder the pins!
- Using the PCB socket keeps the Microcontroller steady while soldering
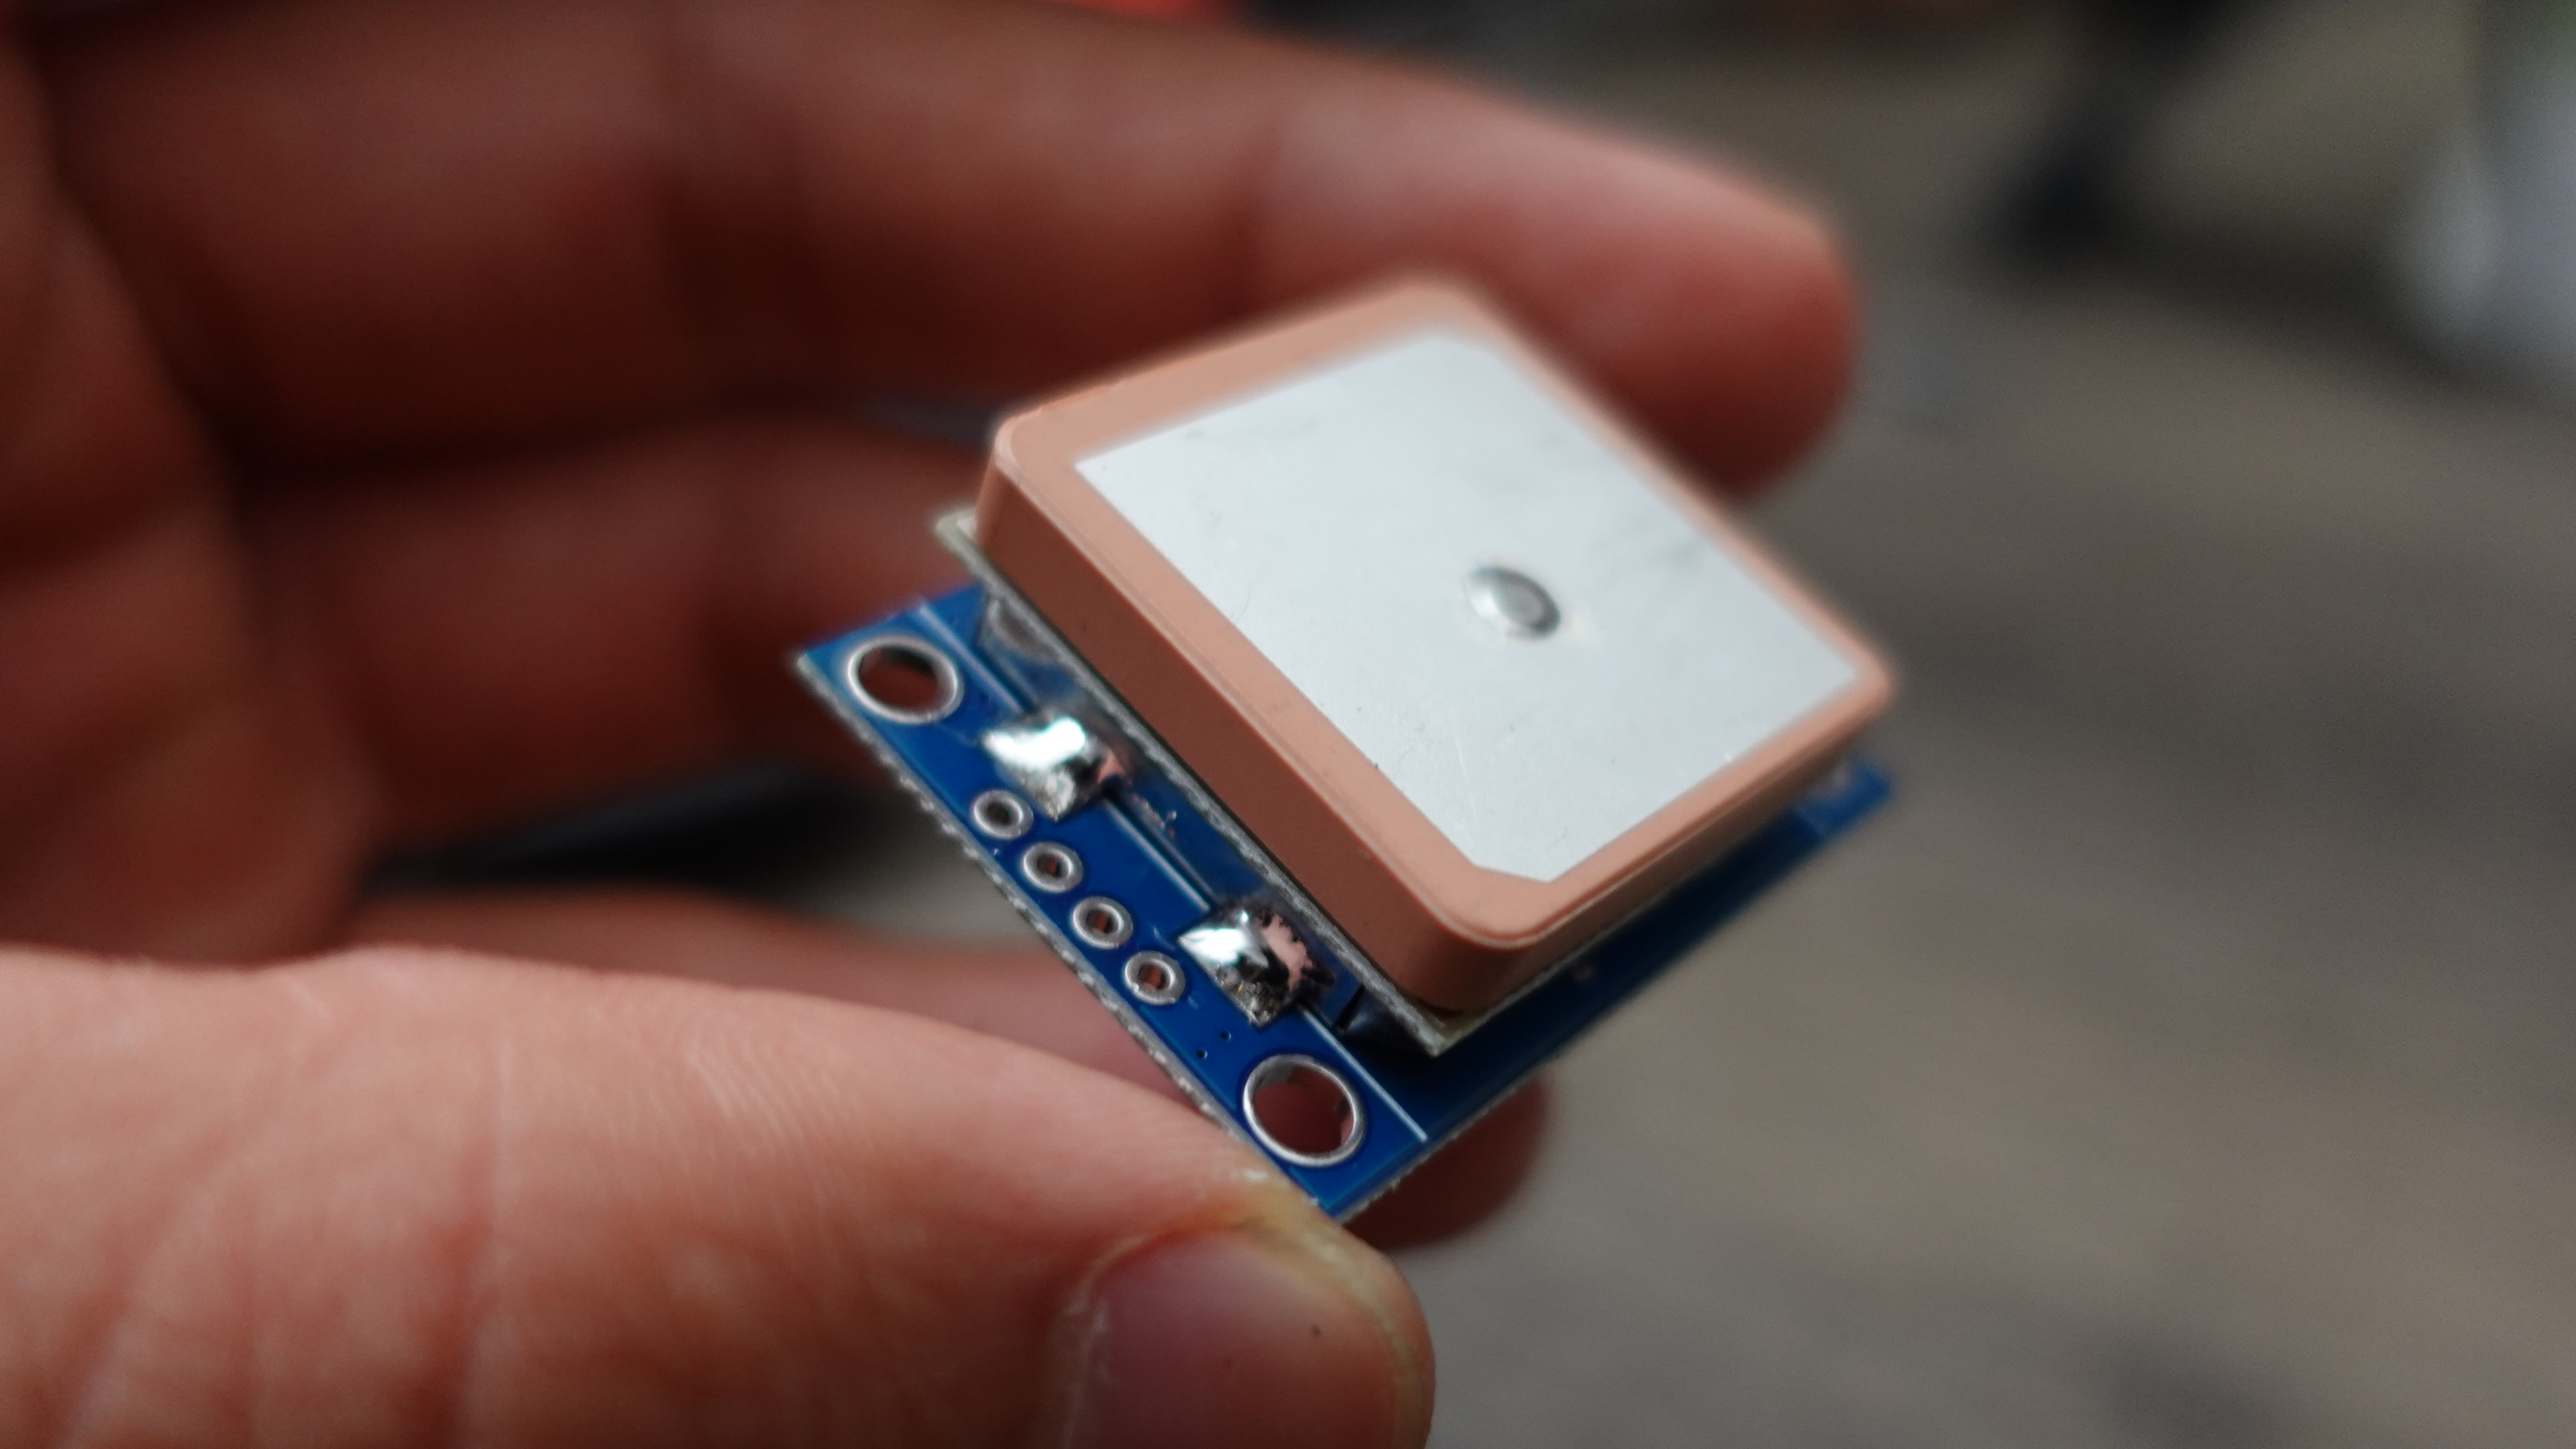
3. GPS Module
Tips
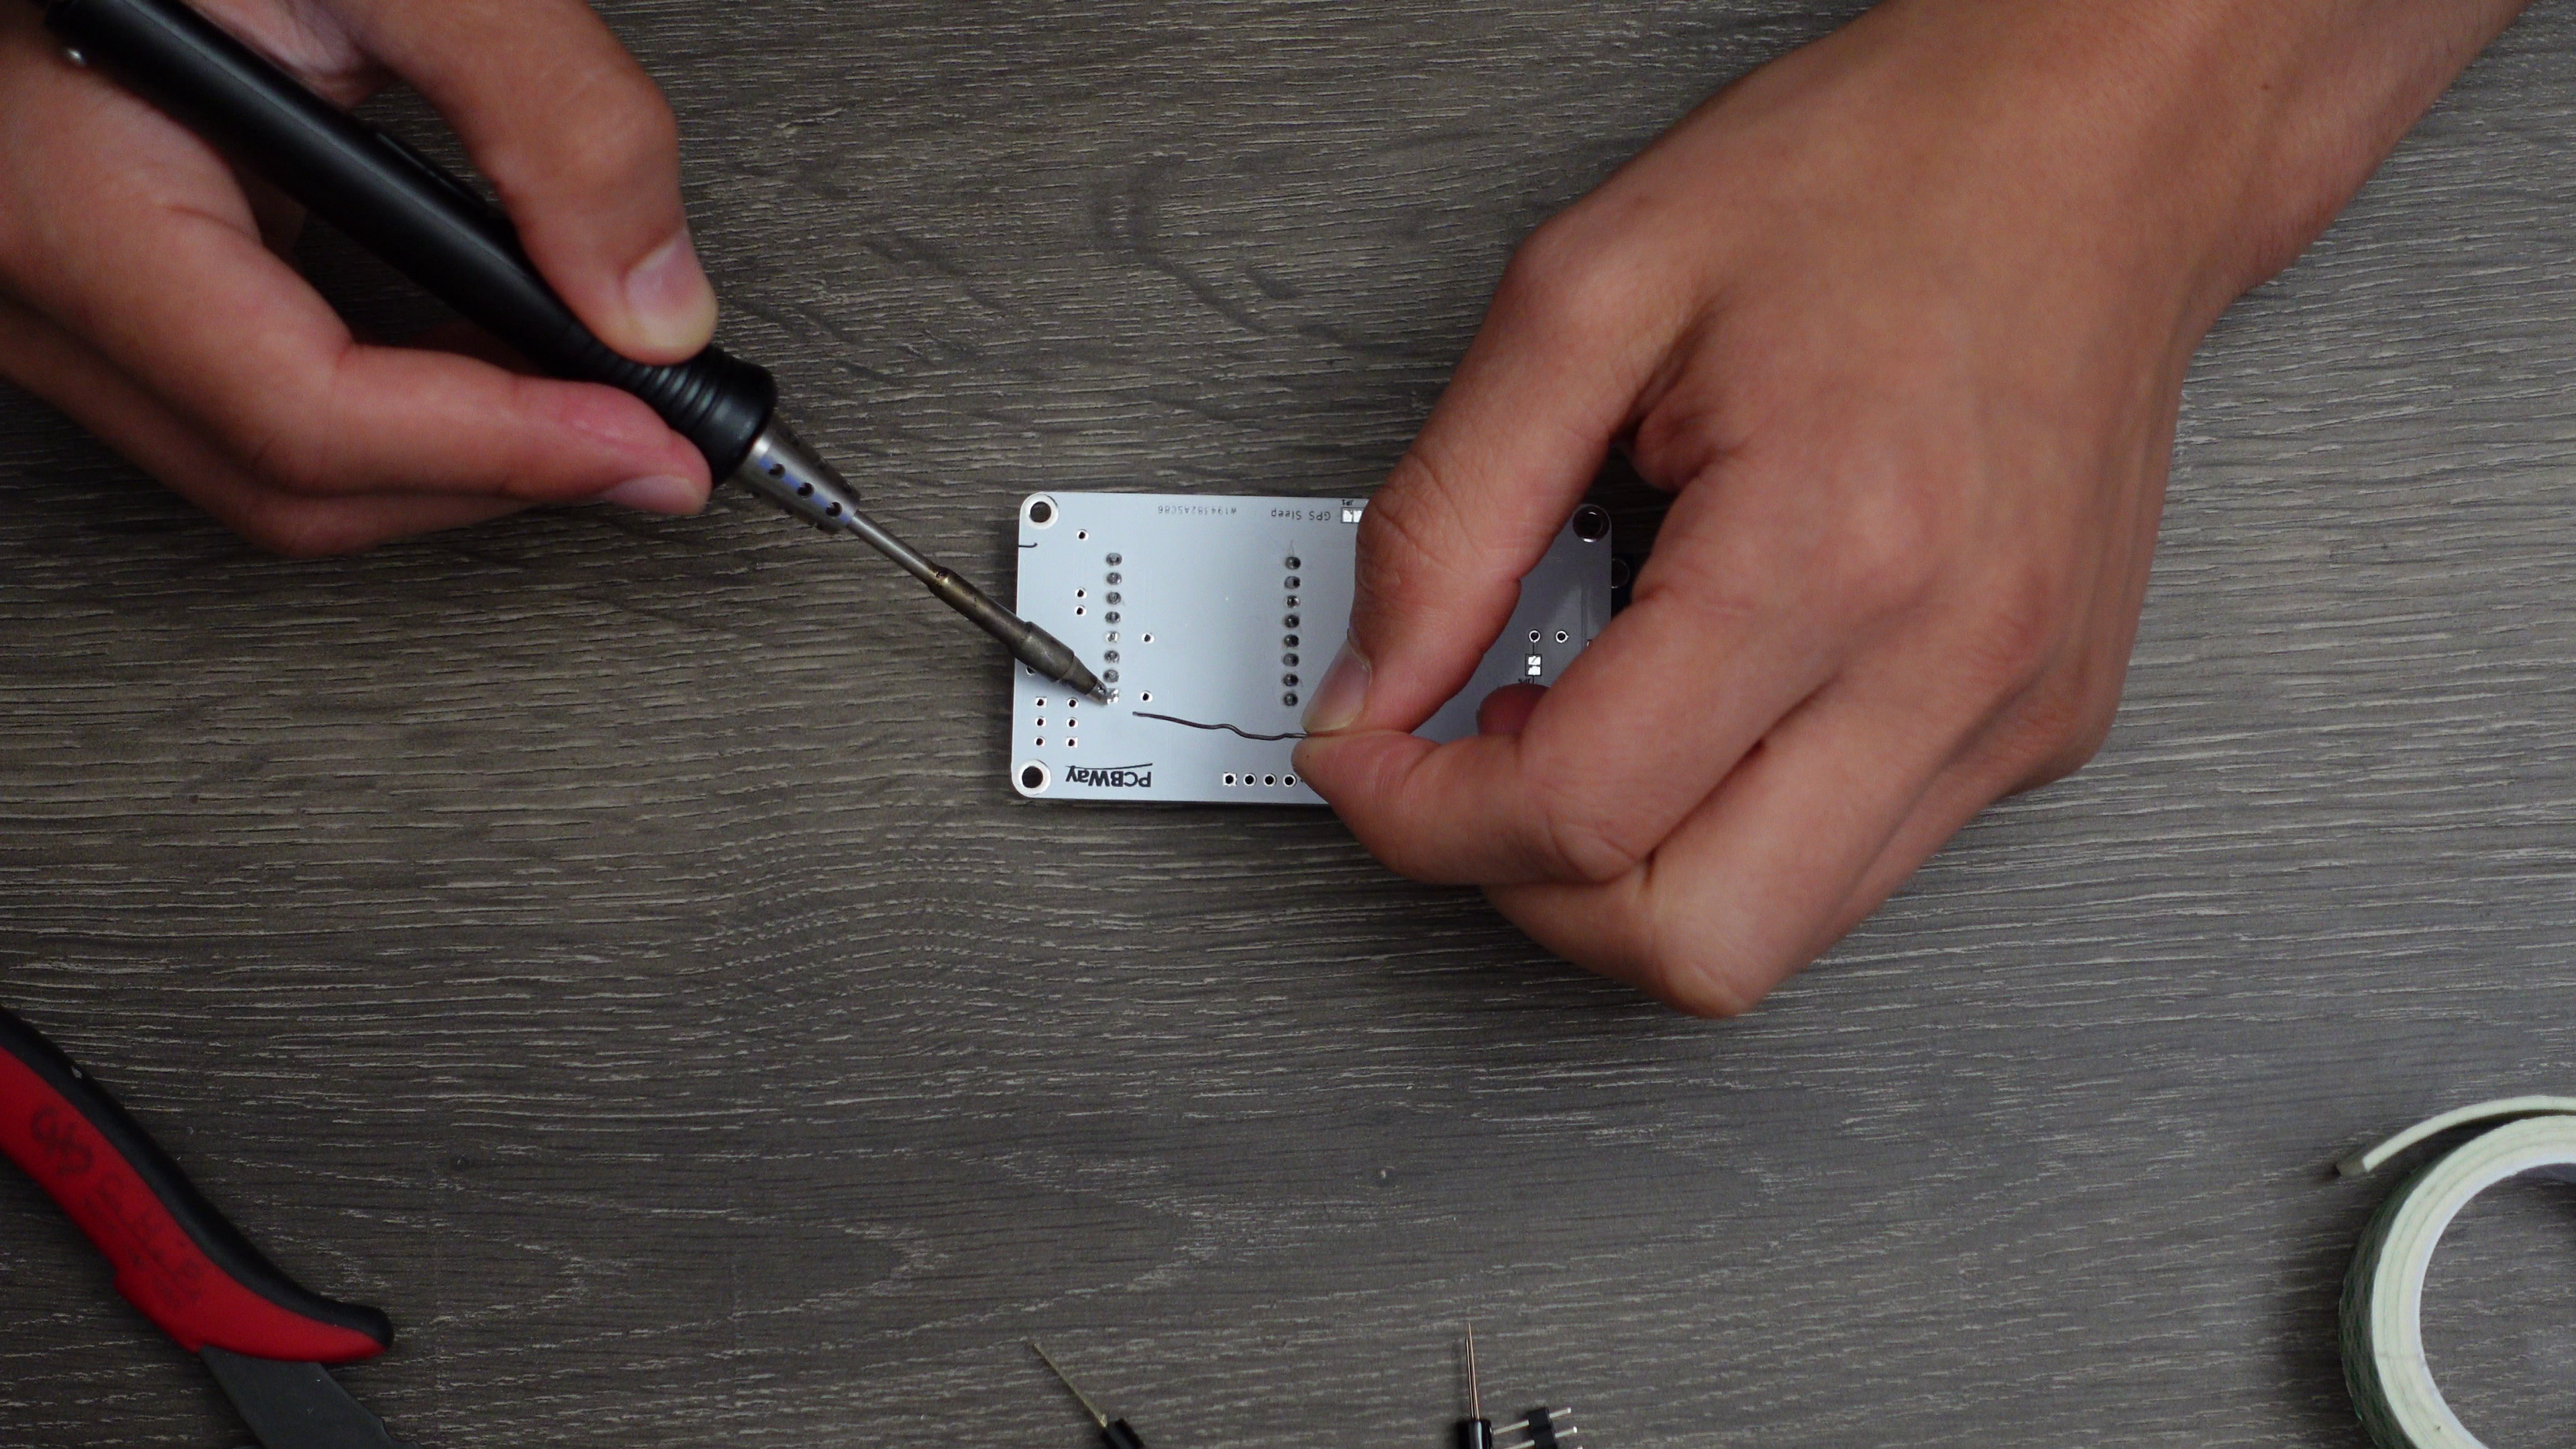
- Solder down the Antenna with a generous amount of solder
- Adhering the Antenna can be difficult so I’d recommend using flux, or “scrubbing” the solder back & forth against the Antenna ground plane (see video)
- You can keep the D1 Mini inserted to help balance the GPS while soldering.
4. Case Assembly
Tips
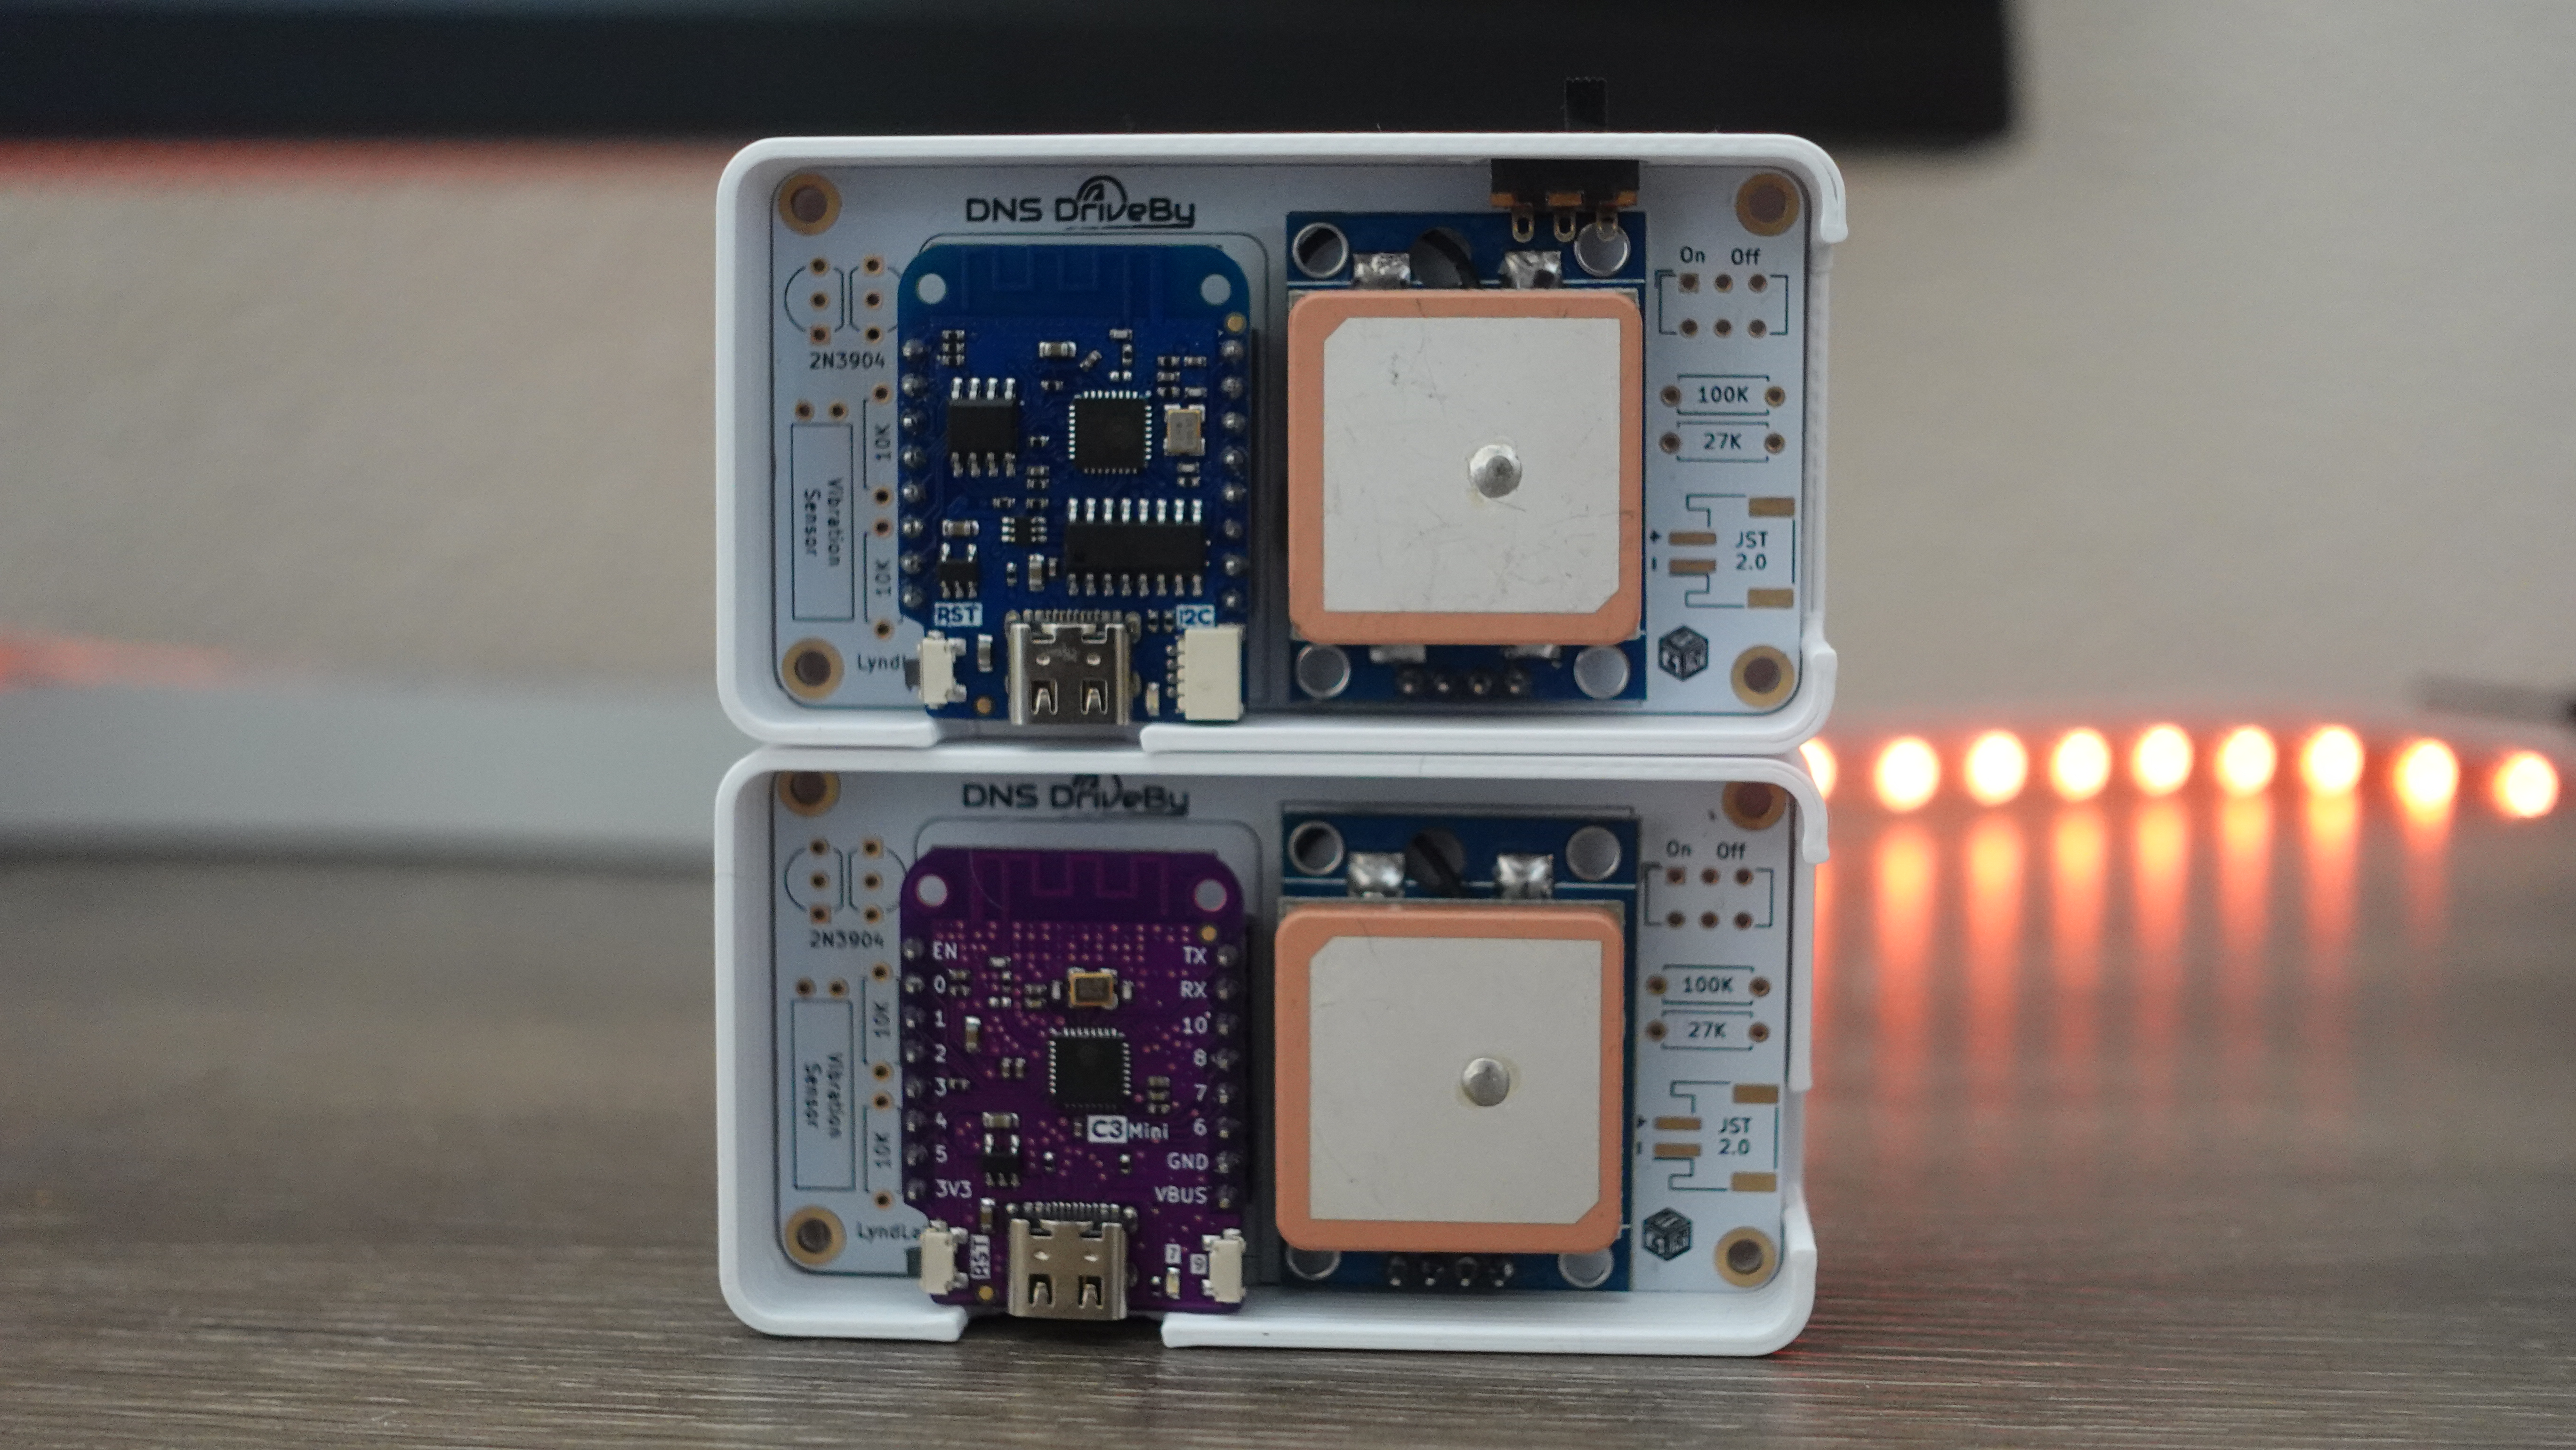
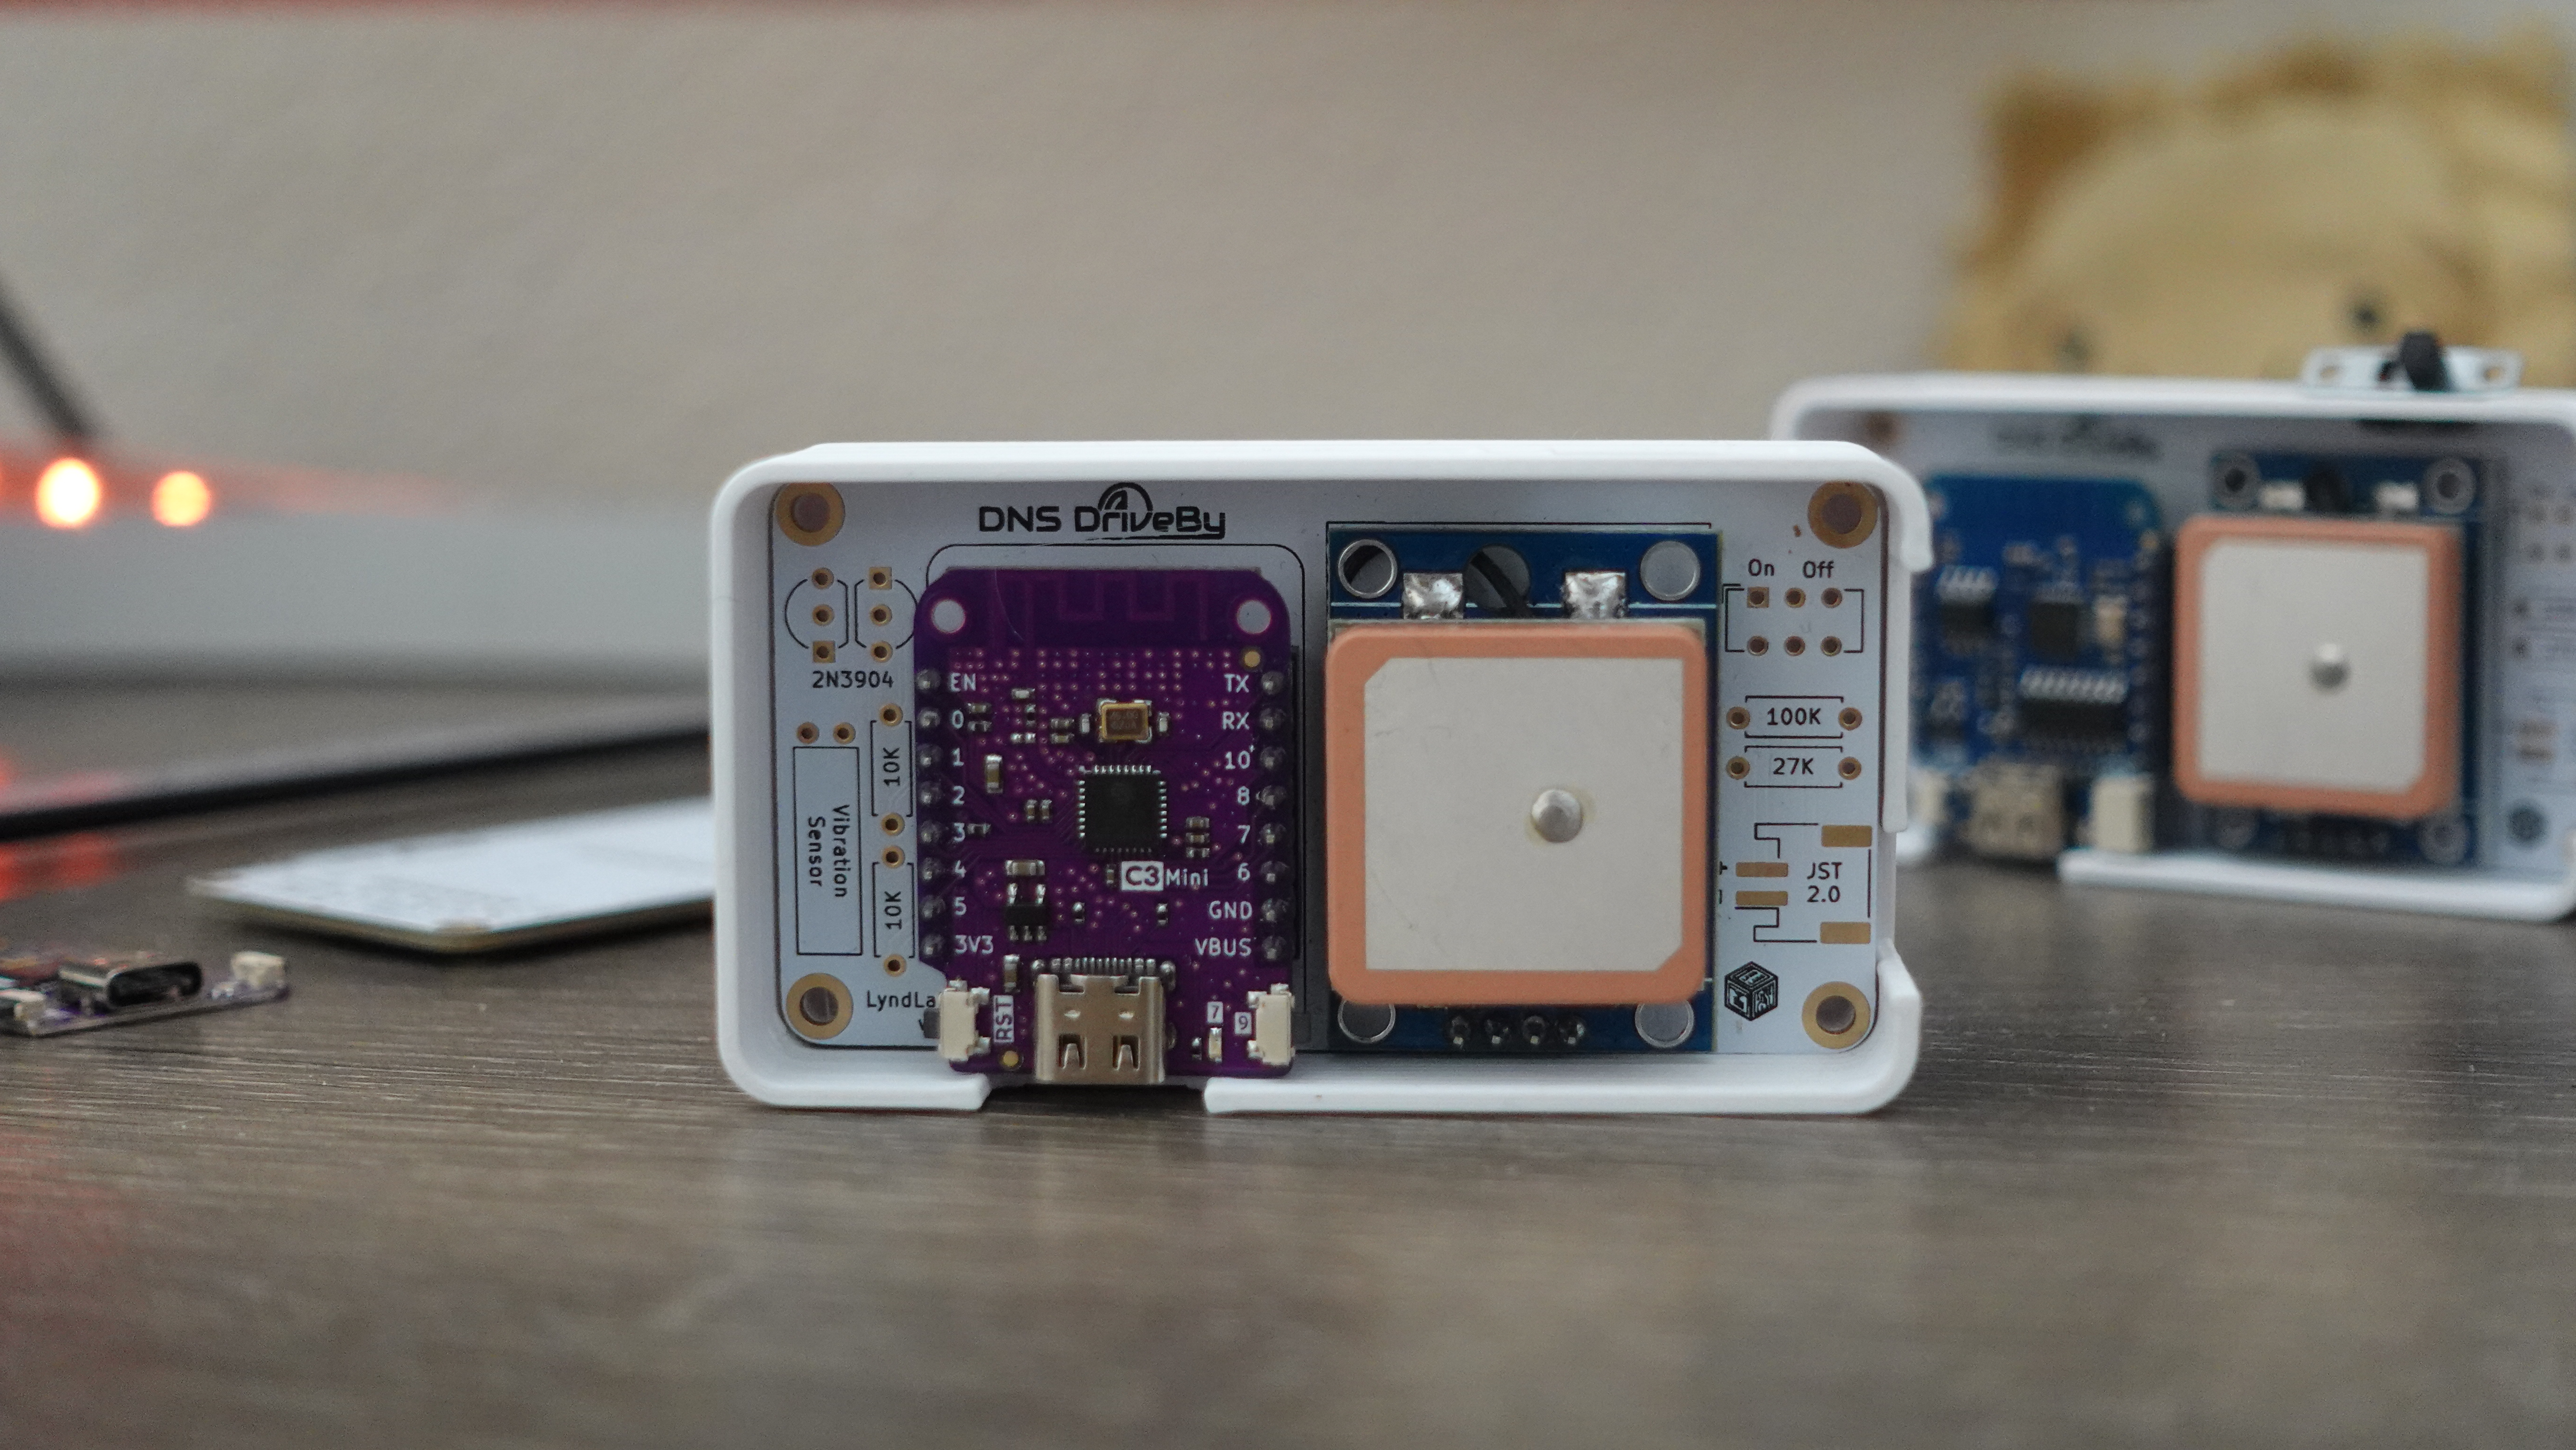
- The case is snap-fit, so simply press the PCB into place!
- If you wish, you can also use heat-inserts & screws to keep it in place
Before you can use your kit, don't forget to flash the firmware!
Low-Power & Battery Assembly
Your kit is ready to wardrive! But if you’re looking to take it a step further and also try out the experimental deep sleep mode / battery feature, you’ll need the following components:
| Low-Power Components | Description | Count |
|---|---|---|
| Resistors | 10K Ω | 3 |
| Transistors | Resistors for Power Management | 2 |
| Motion Sensor | Resistors for Power Management | 2 |
| Battery Components | Description | Count |
|---|---|---|
| Resistors | 10K Ω | 3 |
| Transistors | Resistors for Power Management | 2 |
| Motion Sensor | Resistors for Power Management | 2 |
Assembly Instructions & Docs coming soon.
Due to shipping restrictions, DNS Driveby kits don't ship with LiPo batteries, but you can find the required components above.

