Threaded Inserts
DNS Driveby enclosures are 3D printed, so directly tapping / adding screws can wear down the plastic over time. Threaded inserts are a slick & easy way to solve this problem!

Parts
I typically use M2.5 x 6mm threaded inserts for fastening the enclosure, and screwing down the PCB. Using a screw of the same height (6mm) works fine, since the PCB is about 1.6mm thick. I find M2.5 optimal for most of my designs, and usually make the PCB mounting hole ~ 2.6 mm to offer clearance.

1/4" 20 x 6mm threading is an industry standard tap size for camera mounting, so I like to add these to my designs to make them easily mountable to bikes, tripods, and other accessories.
I recommend using Uxcell inserts since they’re easy to source.

Designing for Heat Inserts
When designing a hole for threaded inserts, you have to compensate for print shrinkage and heat warping during installation.
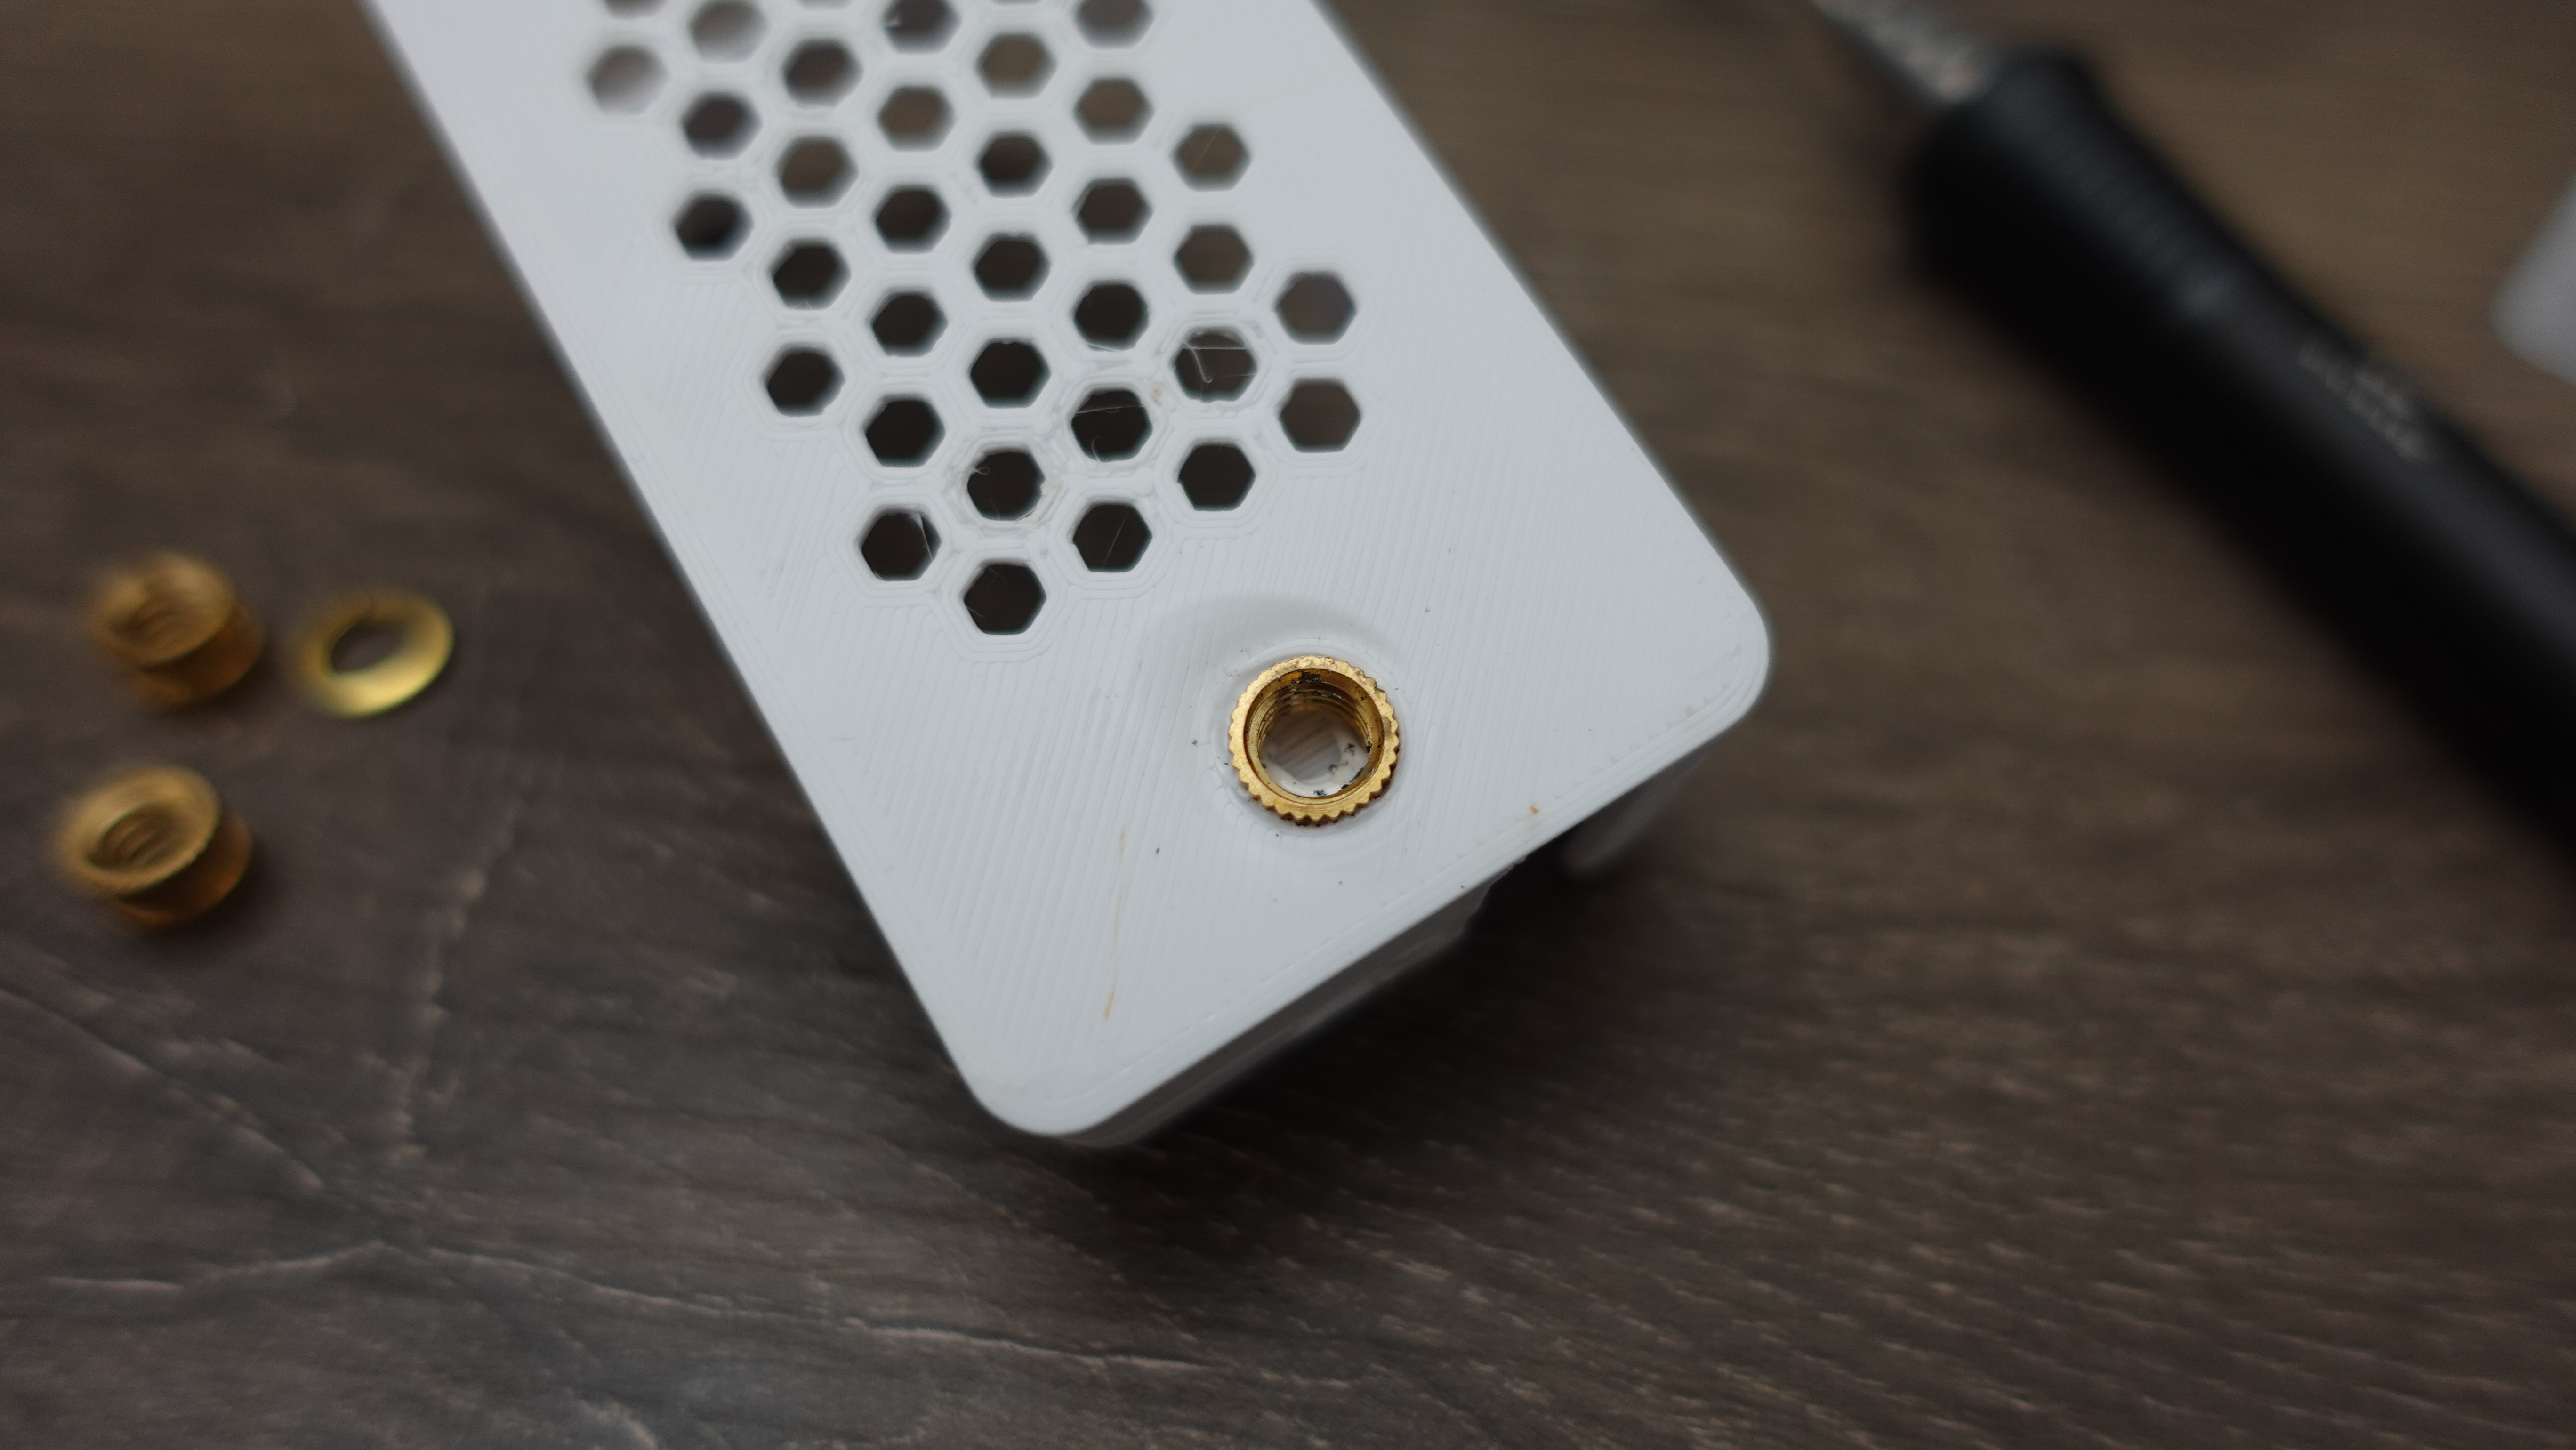
Example of warp damage & plastic filling from insert going askew.
Warp damage from insufficient clearance.
1. Heat Warping
Heat warp happens when the insert doesn’t have enough surrounding material to dissipate the heat while pressing.
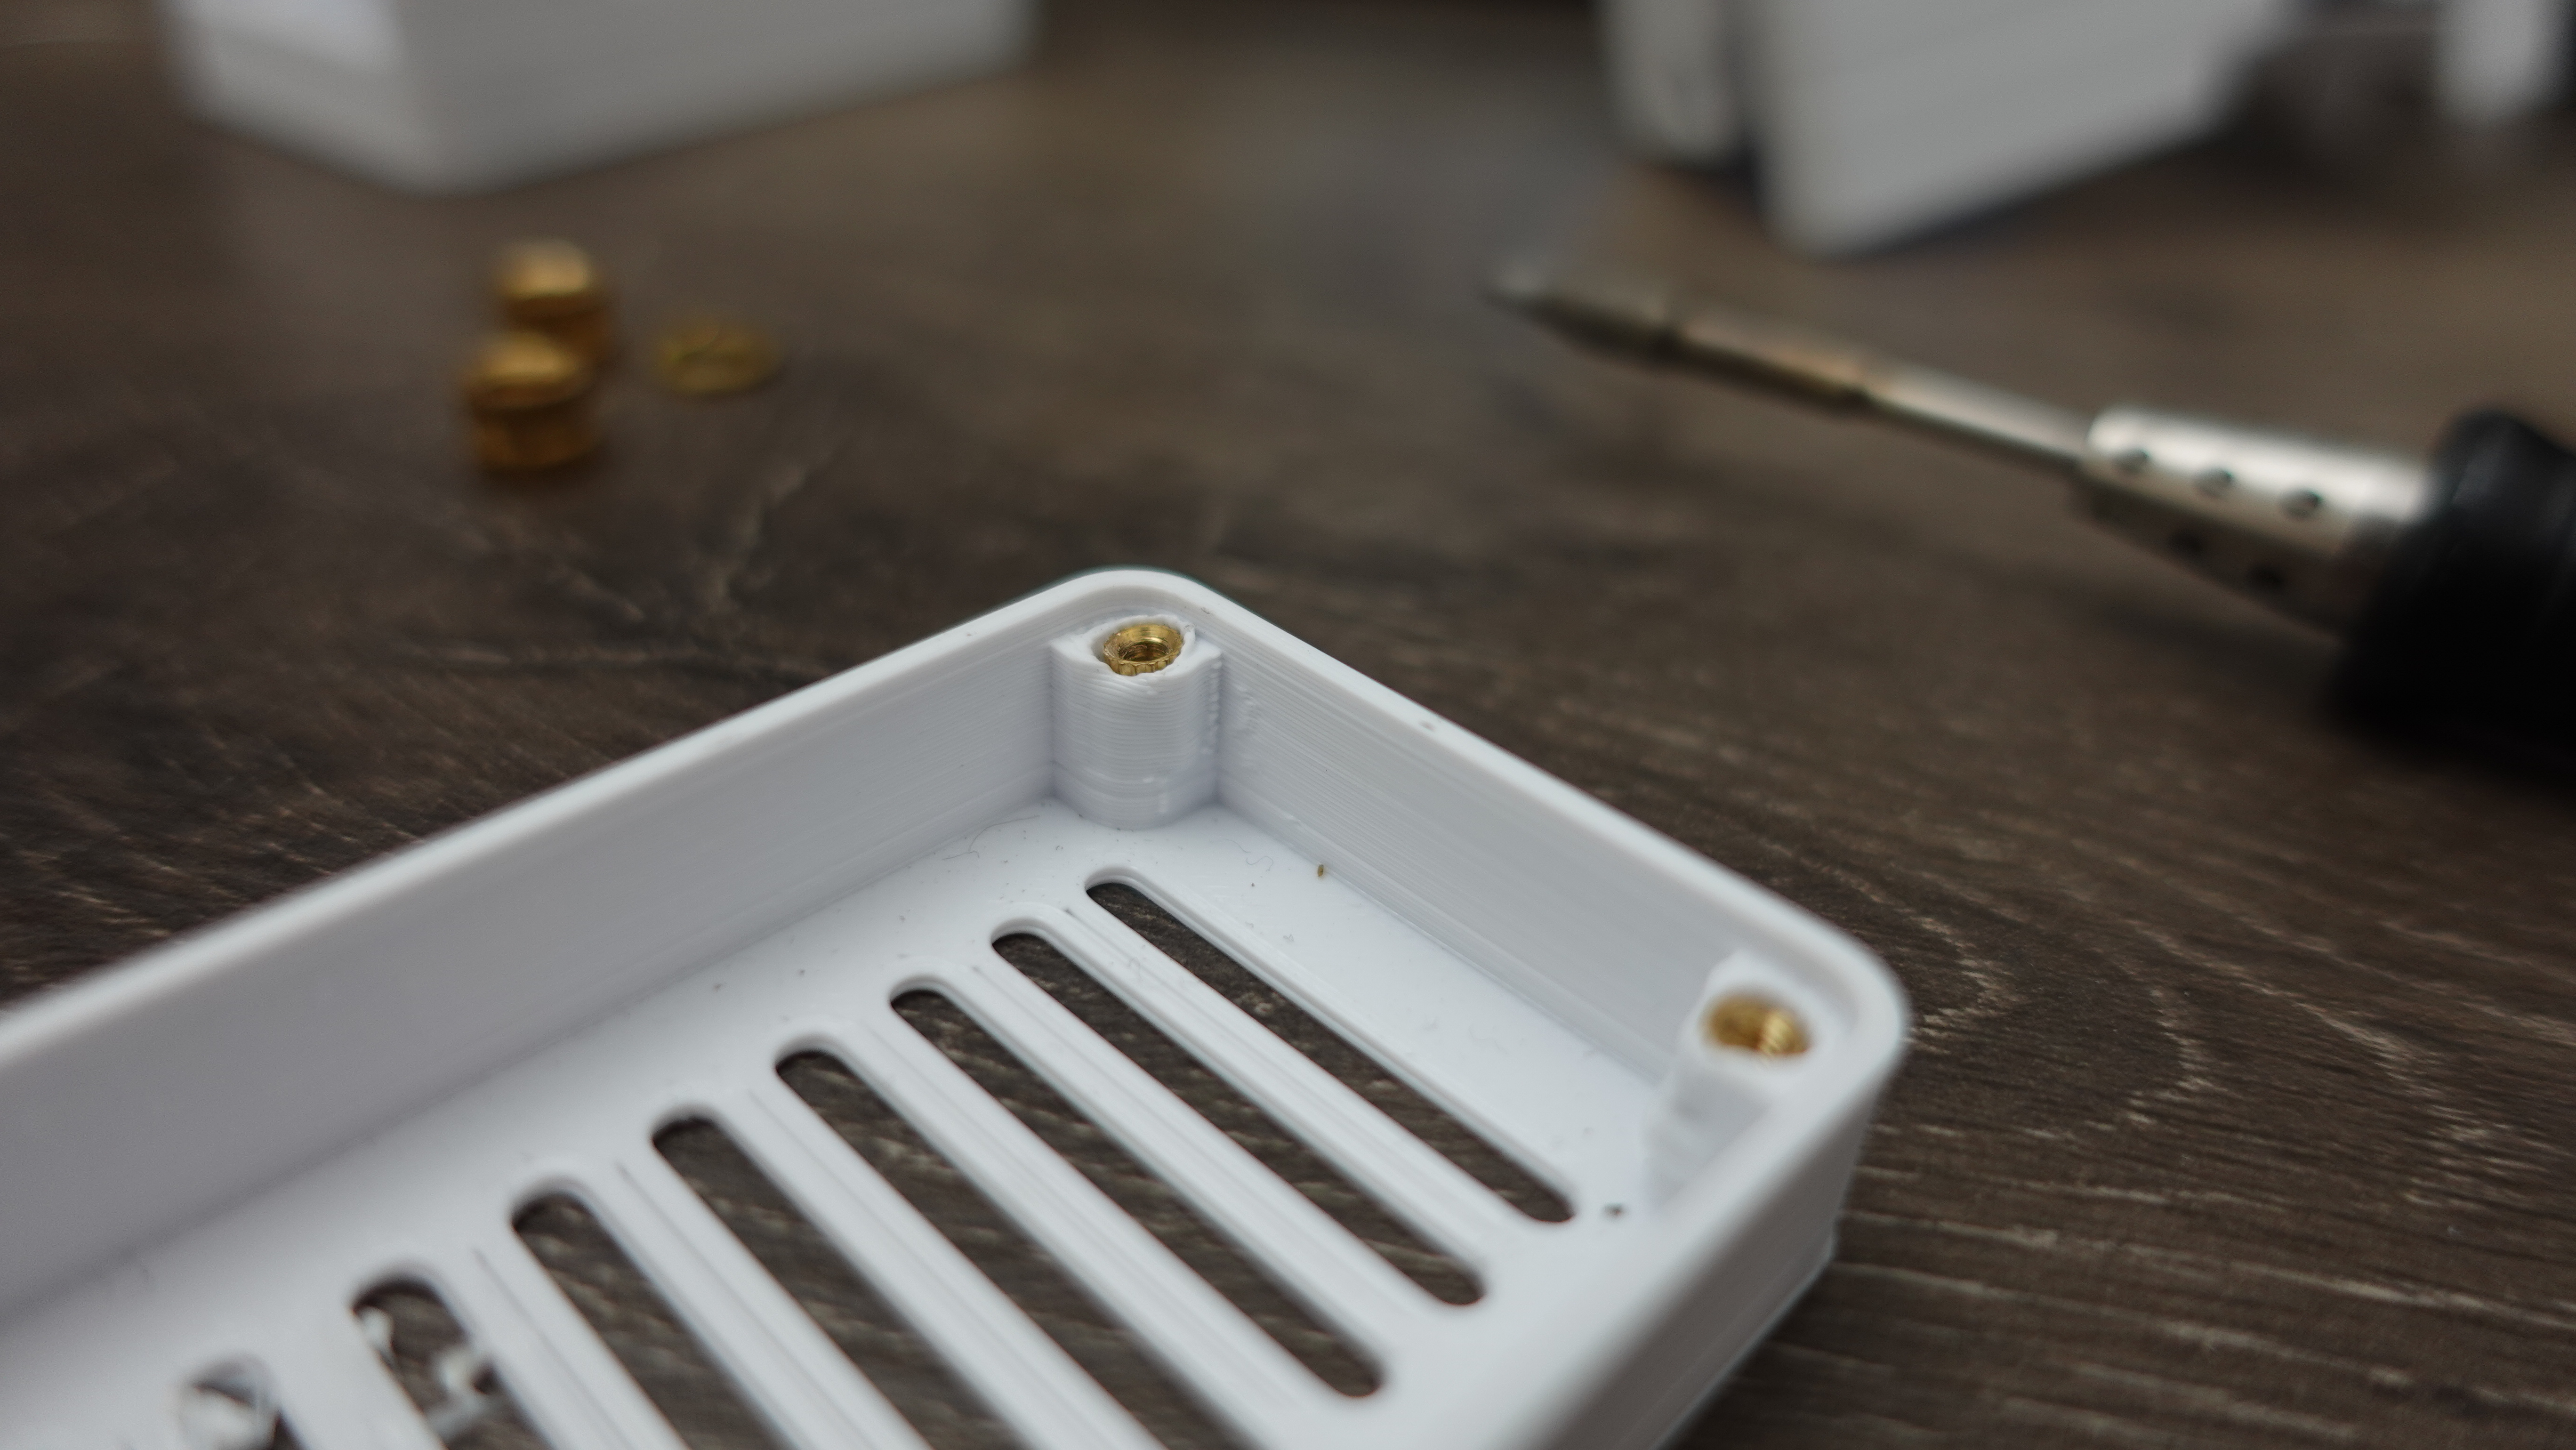
I like to make sure my heat inserts have at least 2mm clearance on all sides and usually extrude a special pad to allow for this, as seen below.
Sometimes, the heat insert can also go askew while inserting (see picture below), and catch plastic inside of it. I typically add 2 bevels to preempt this - the larger recess allowing me to easily press-fit the insert halfway into place.

2. Print Shrinkage
Combating print shrinkage is pretty easy. I typically scale my designs in the xy dimensions by 101 % in my slicer settings, and add a .1-2 mm tolerance to my holes.

3. Recommended Dimensions
1/4" 20: Recommended profile for 1/4" 20 x 6mm insert
| Name | Dimension | Notes |
|---|---|---|
| Small Radius | 8 mm | |
| Large Radius | 8.4 mm | ~ 3-4mm depth |
| Total Depth | 7 mm |
M2.5: Recommended profile for M2.5 x 6mm insert
| Name | Dimension | Notes |
|---|---|---|
| Small Radius | 3.2 mm | |
| Large Radius | 3.8 mm | ~ 3-4mm depth |
| Total Depth | 7 mm |
How to Install
Pictures coming soon. This is a good guide for adding threaded inserts.
Tools
- Tweezers or Pliers
- Soldering Iron
- Press fit your insert into place, until it rests about halfway in the hole.
- You can hold the insert stable using tweezers / needle-nose pliers.
- Heat up your soldering iron (~ 300 F) and gently press the insert into place.
- Be patient! Pressing too fast can cause the print to warp or melt.